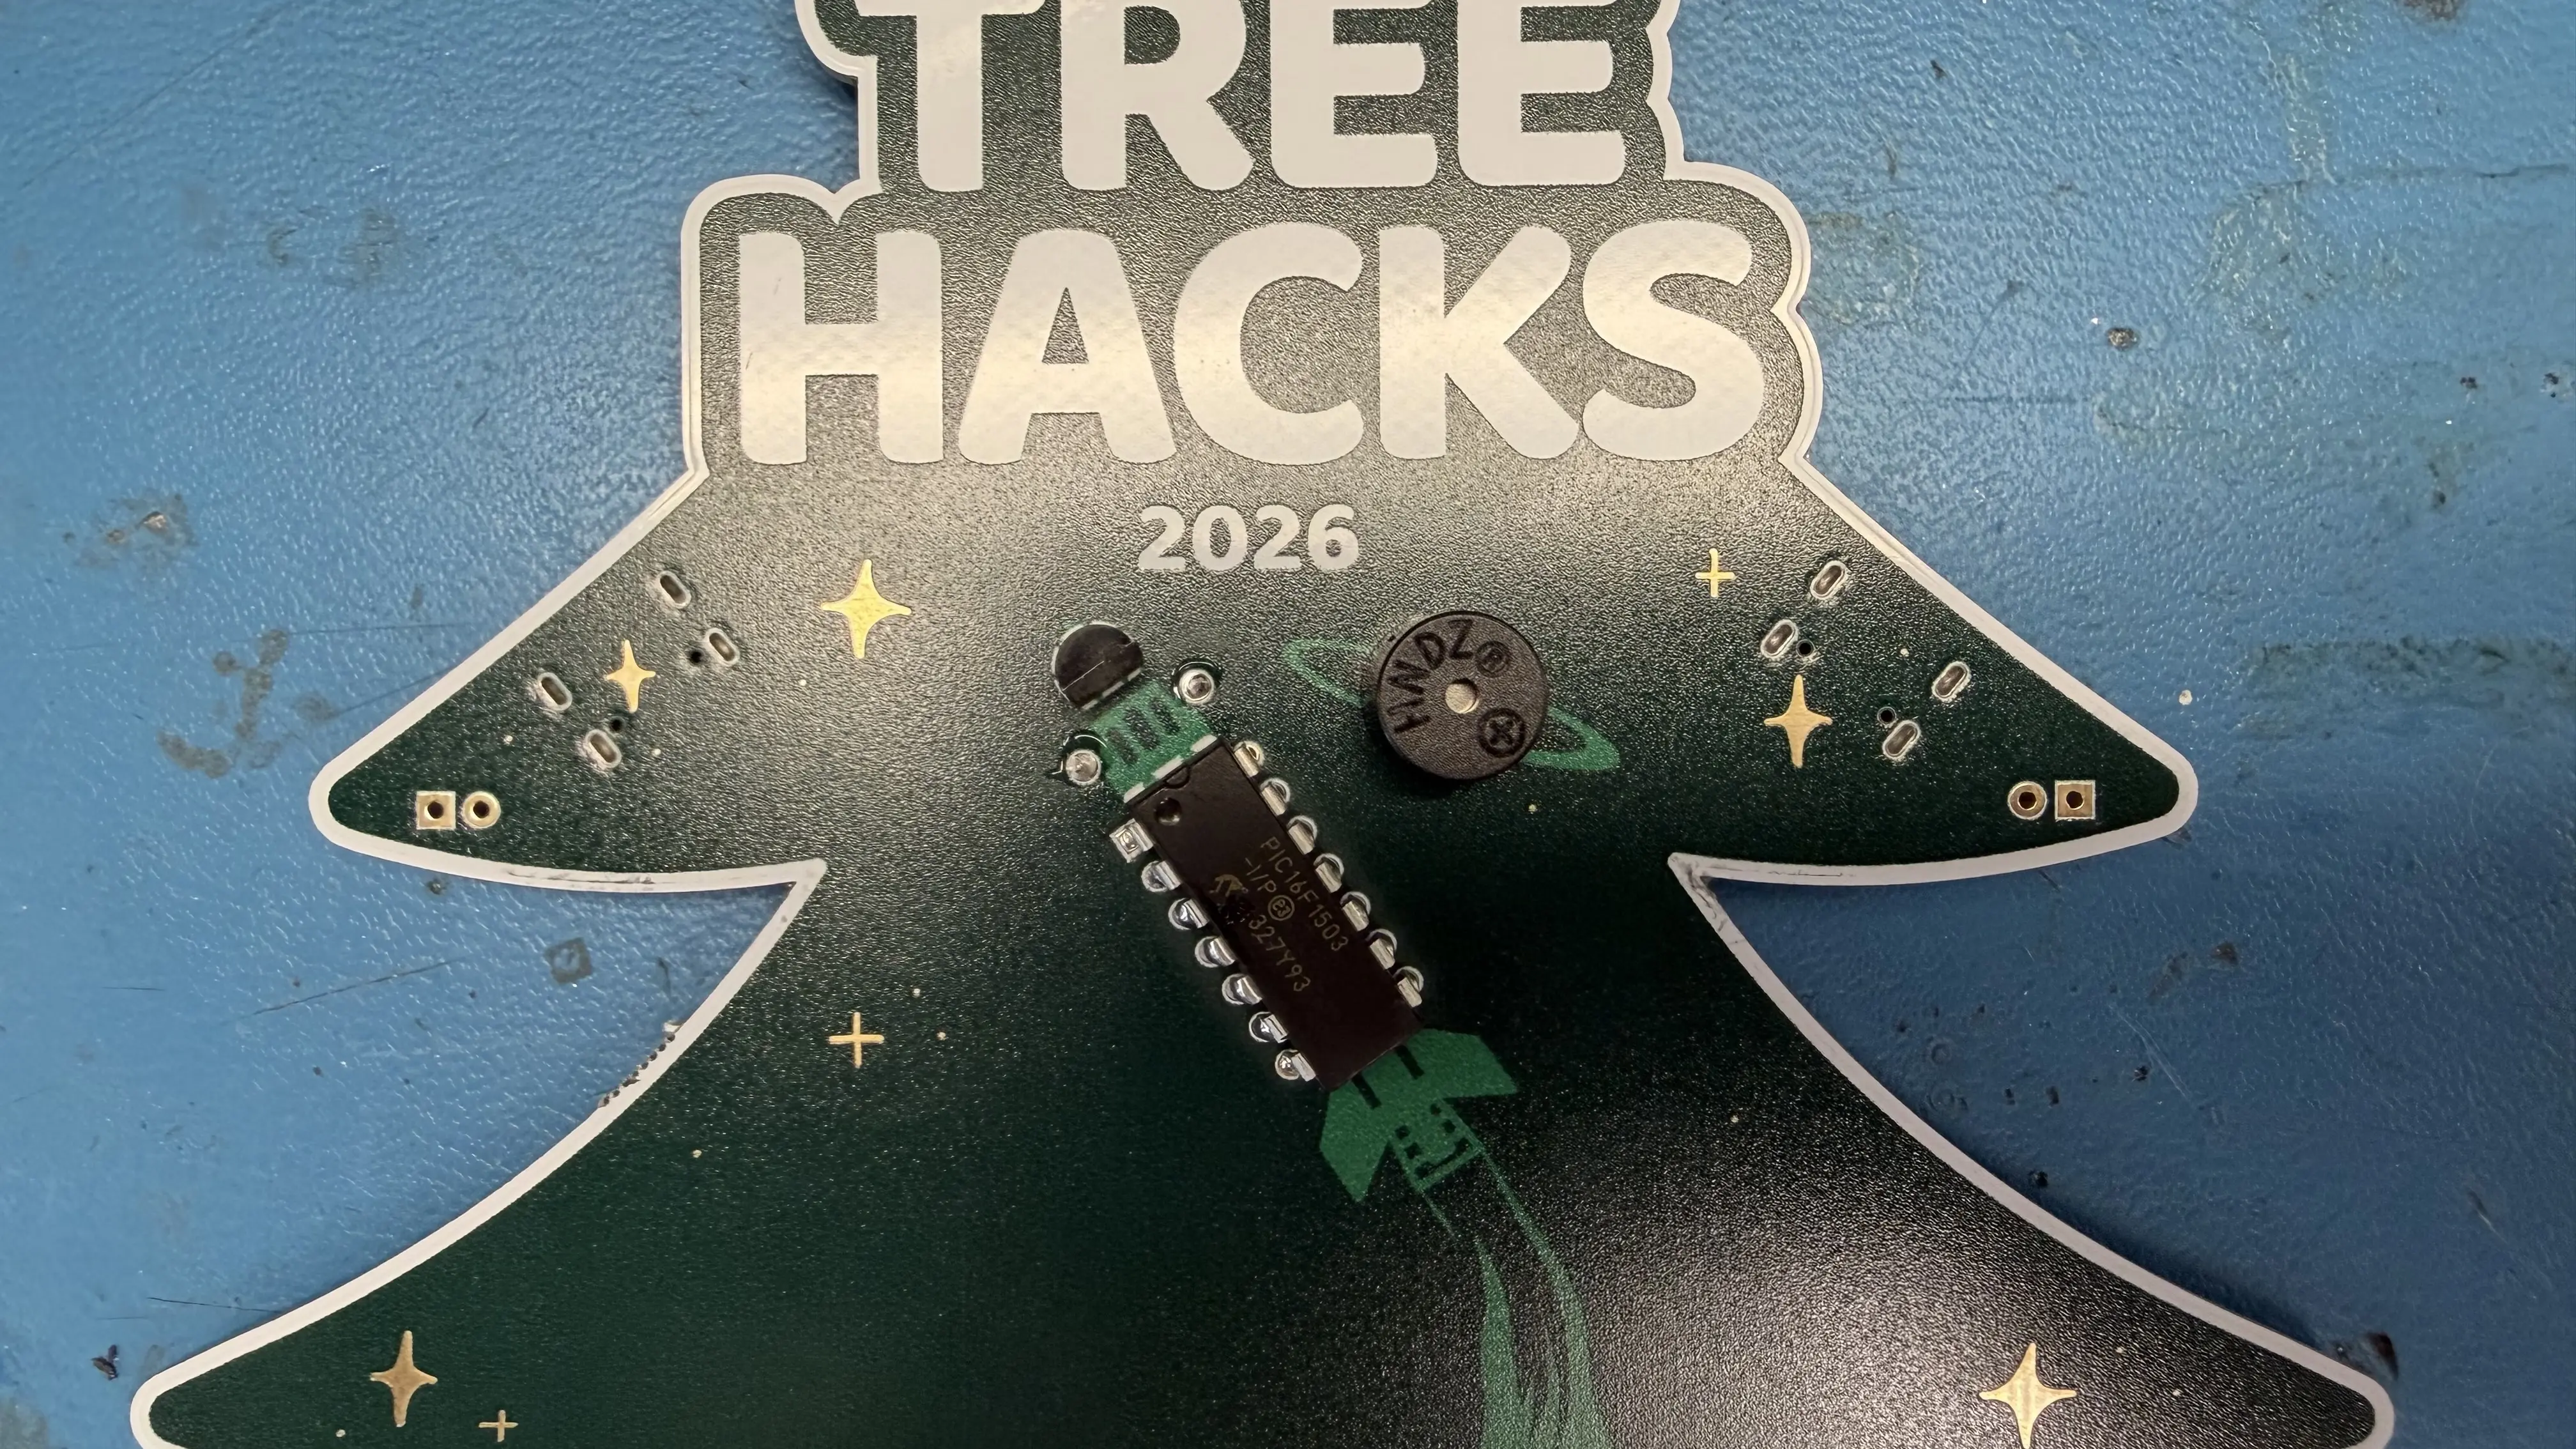
2026 Badges
A build guide and programming interface for your 2026 TreeHacks badge.
Build Guide
To get started, come to our Hardware Lab, which has all of the components and soldering supplies you will need! We are located outside of the PRL on the basement level of Huang.
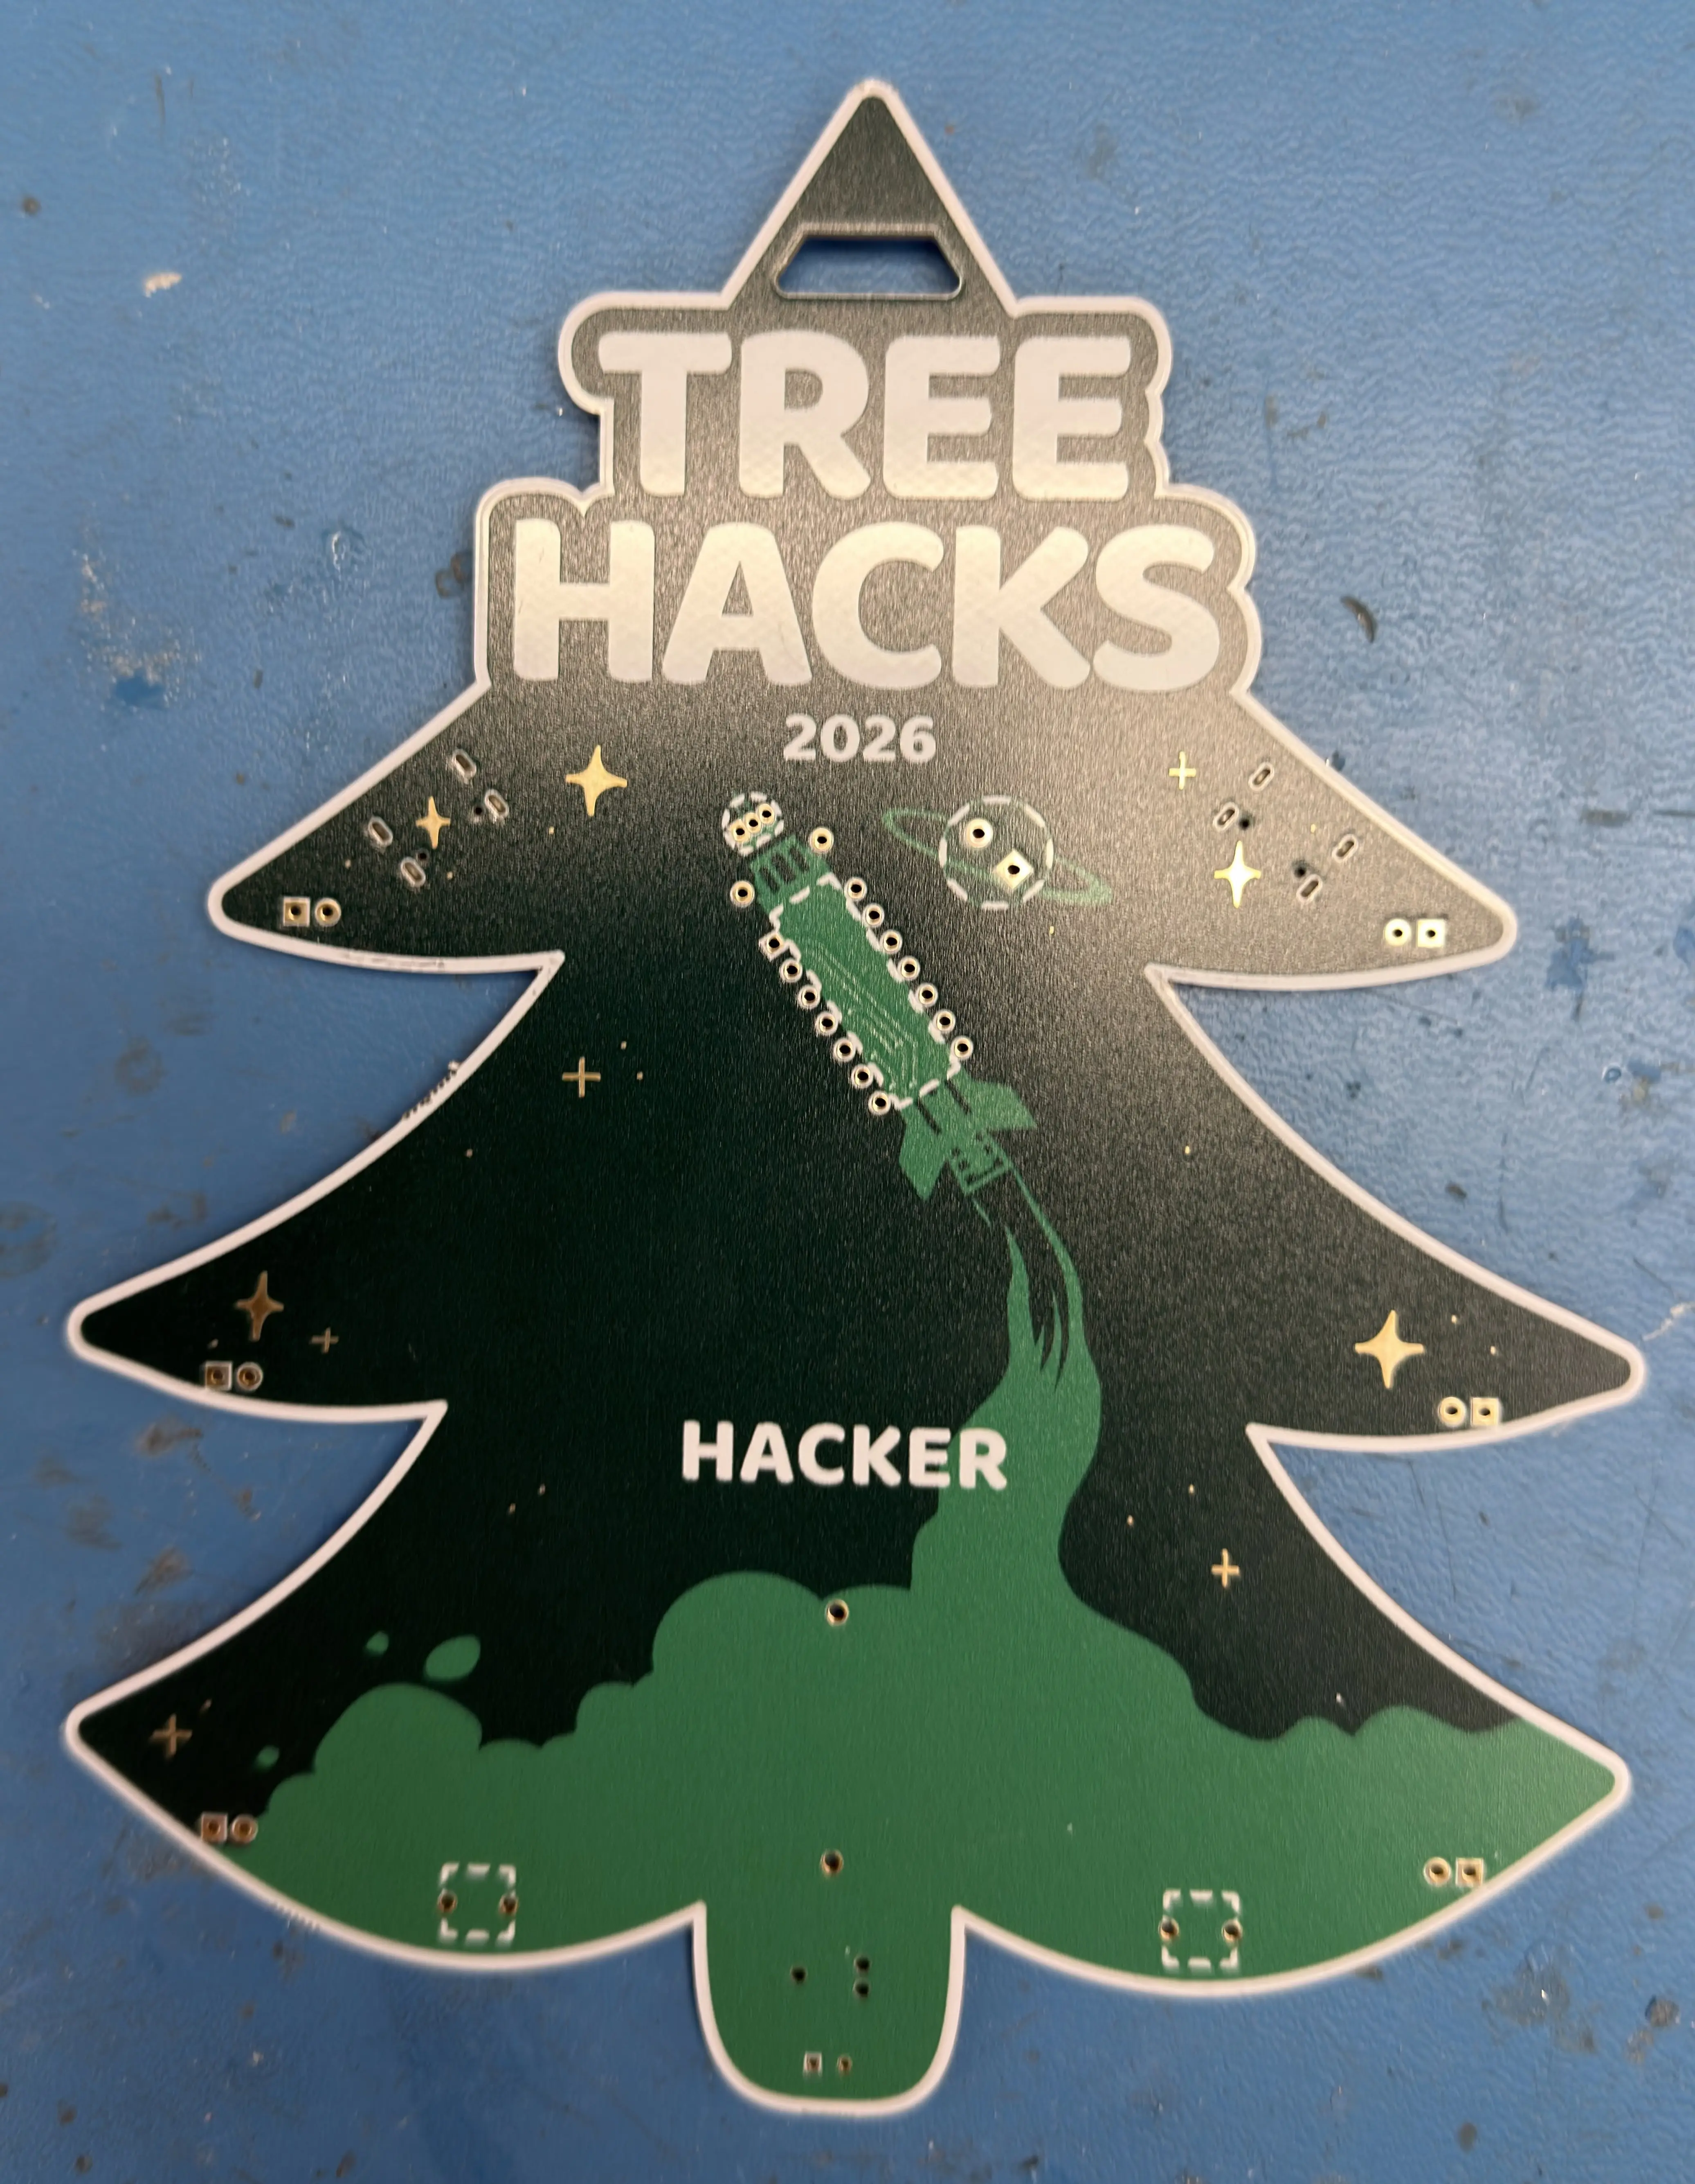
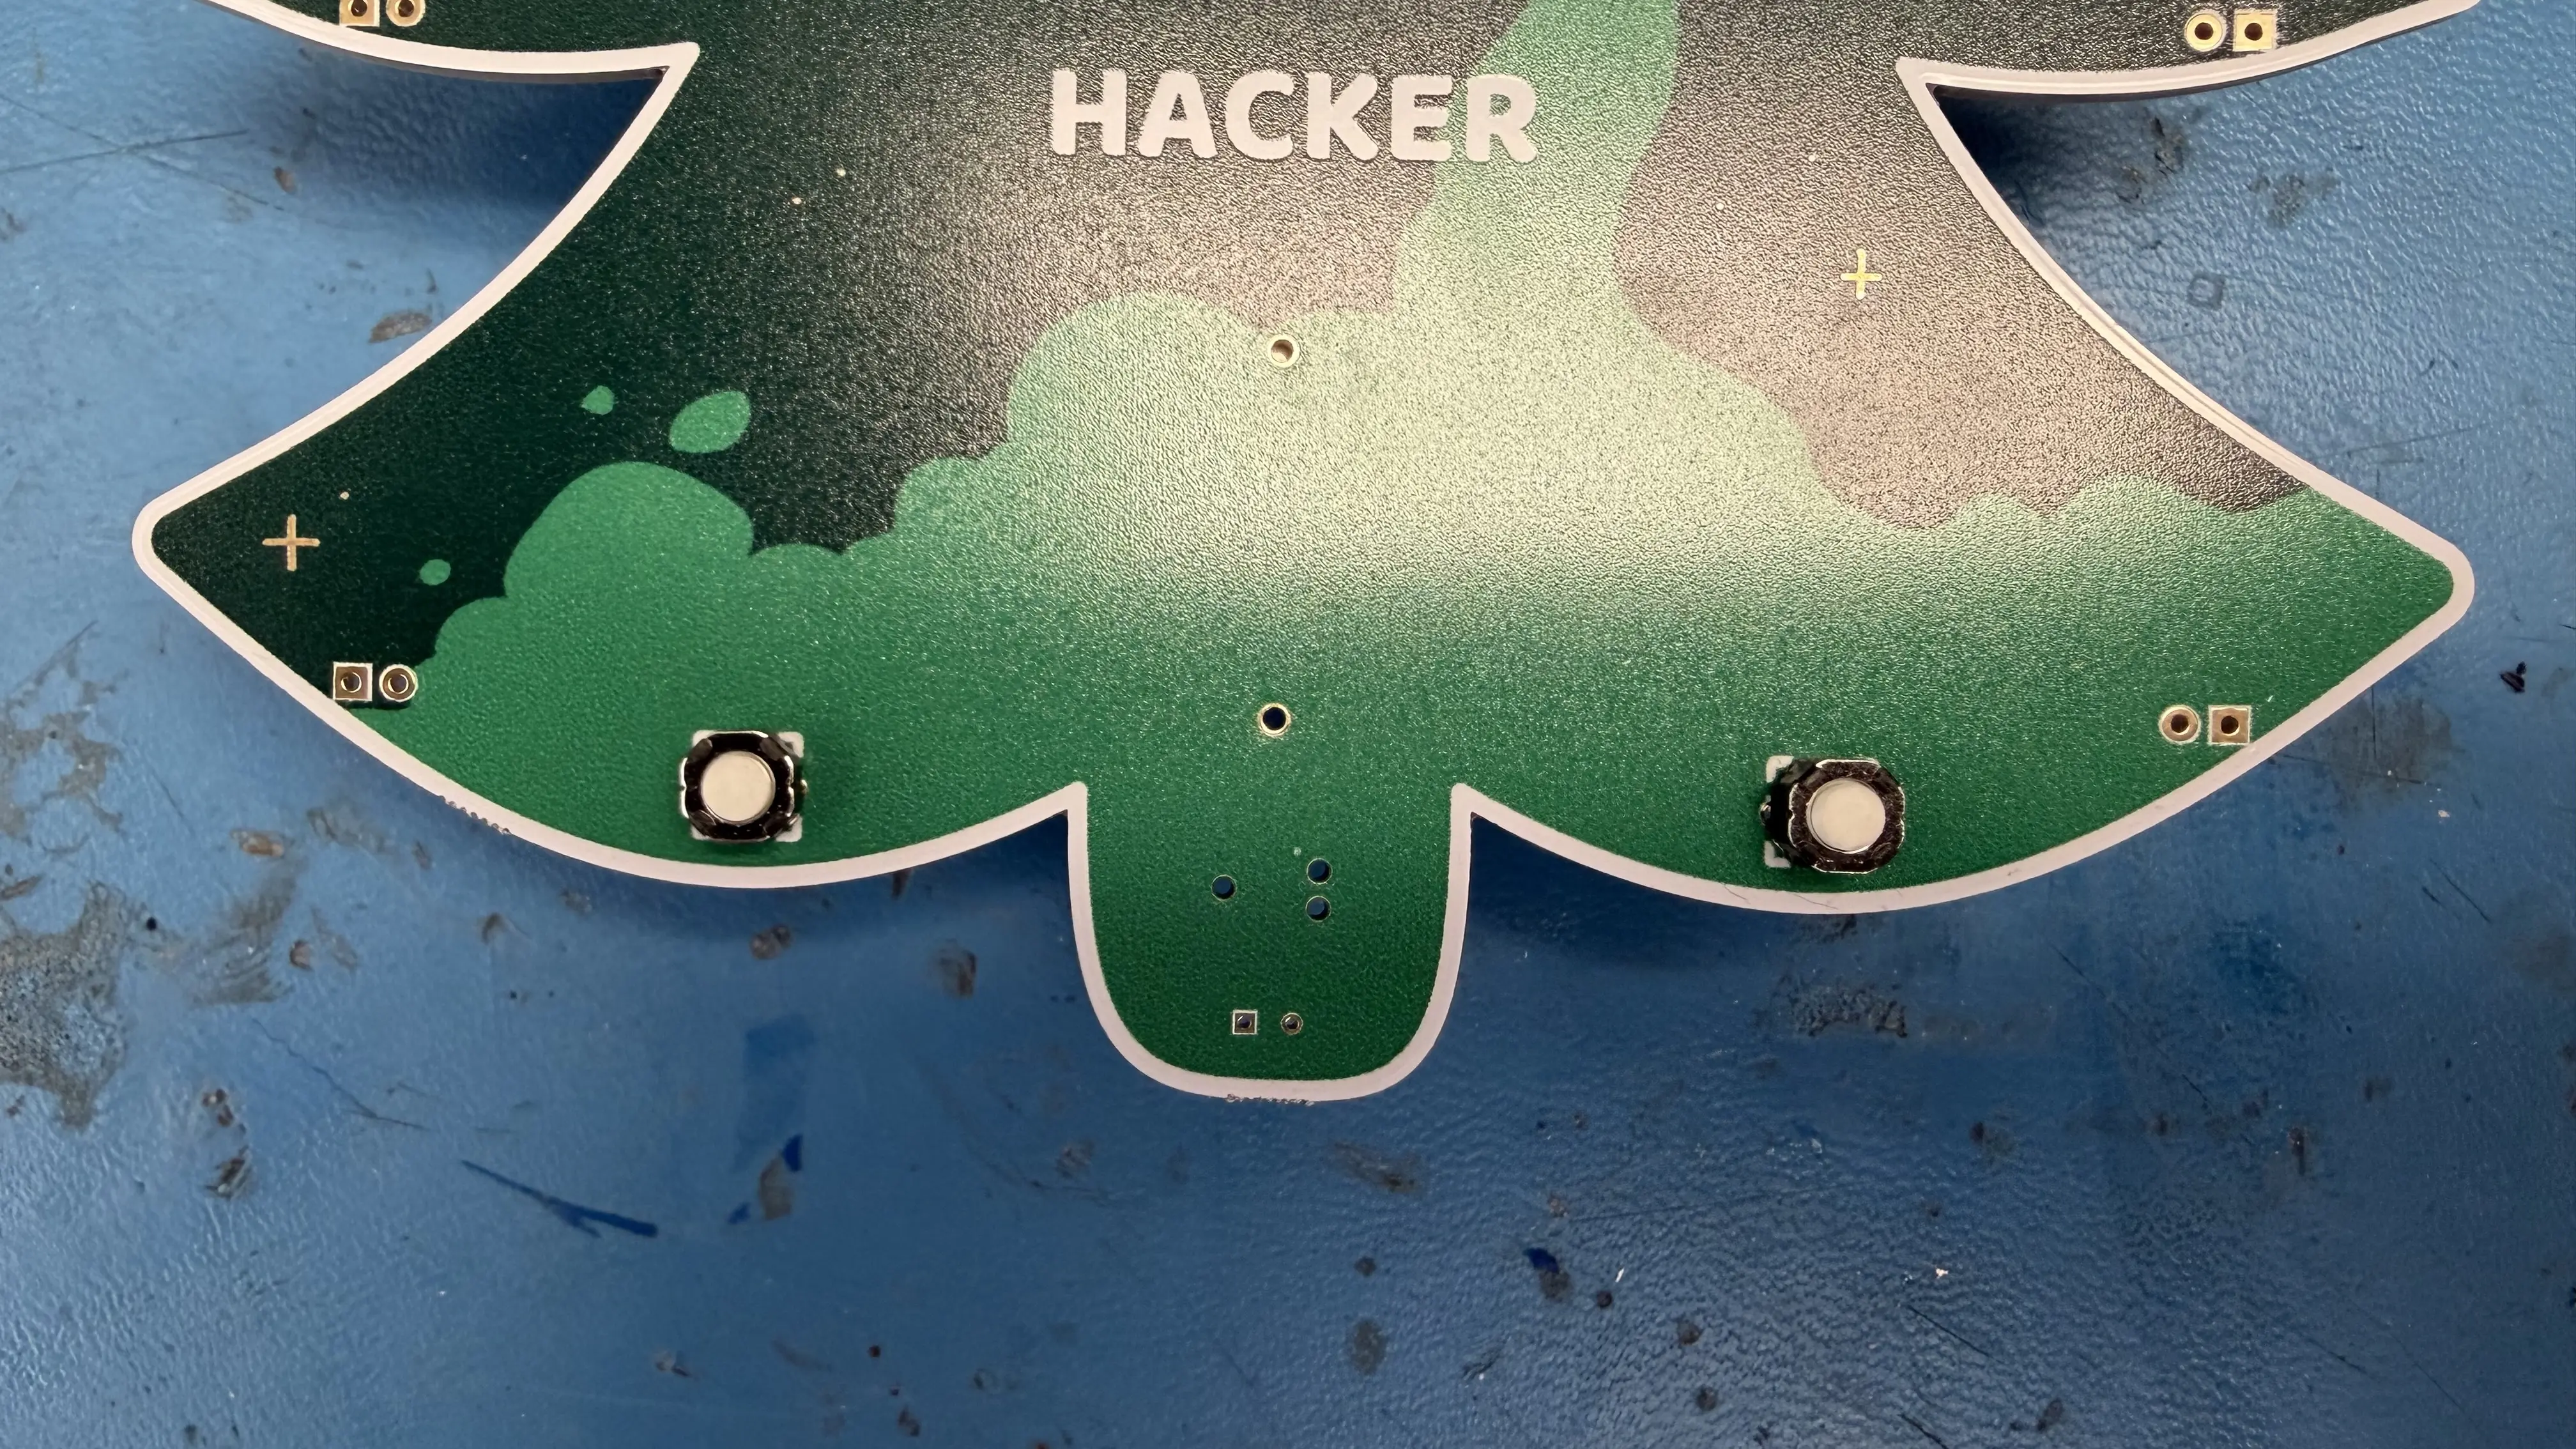
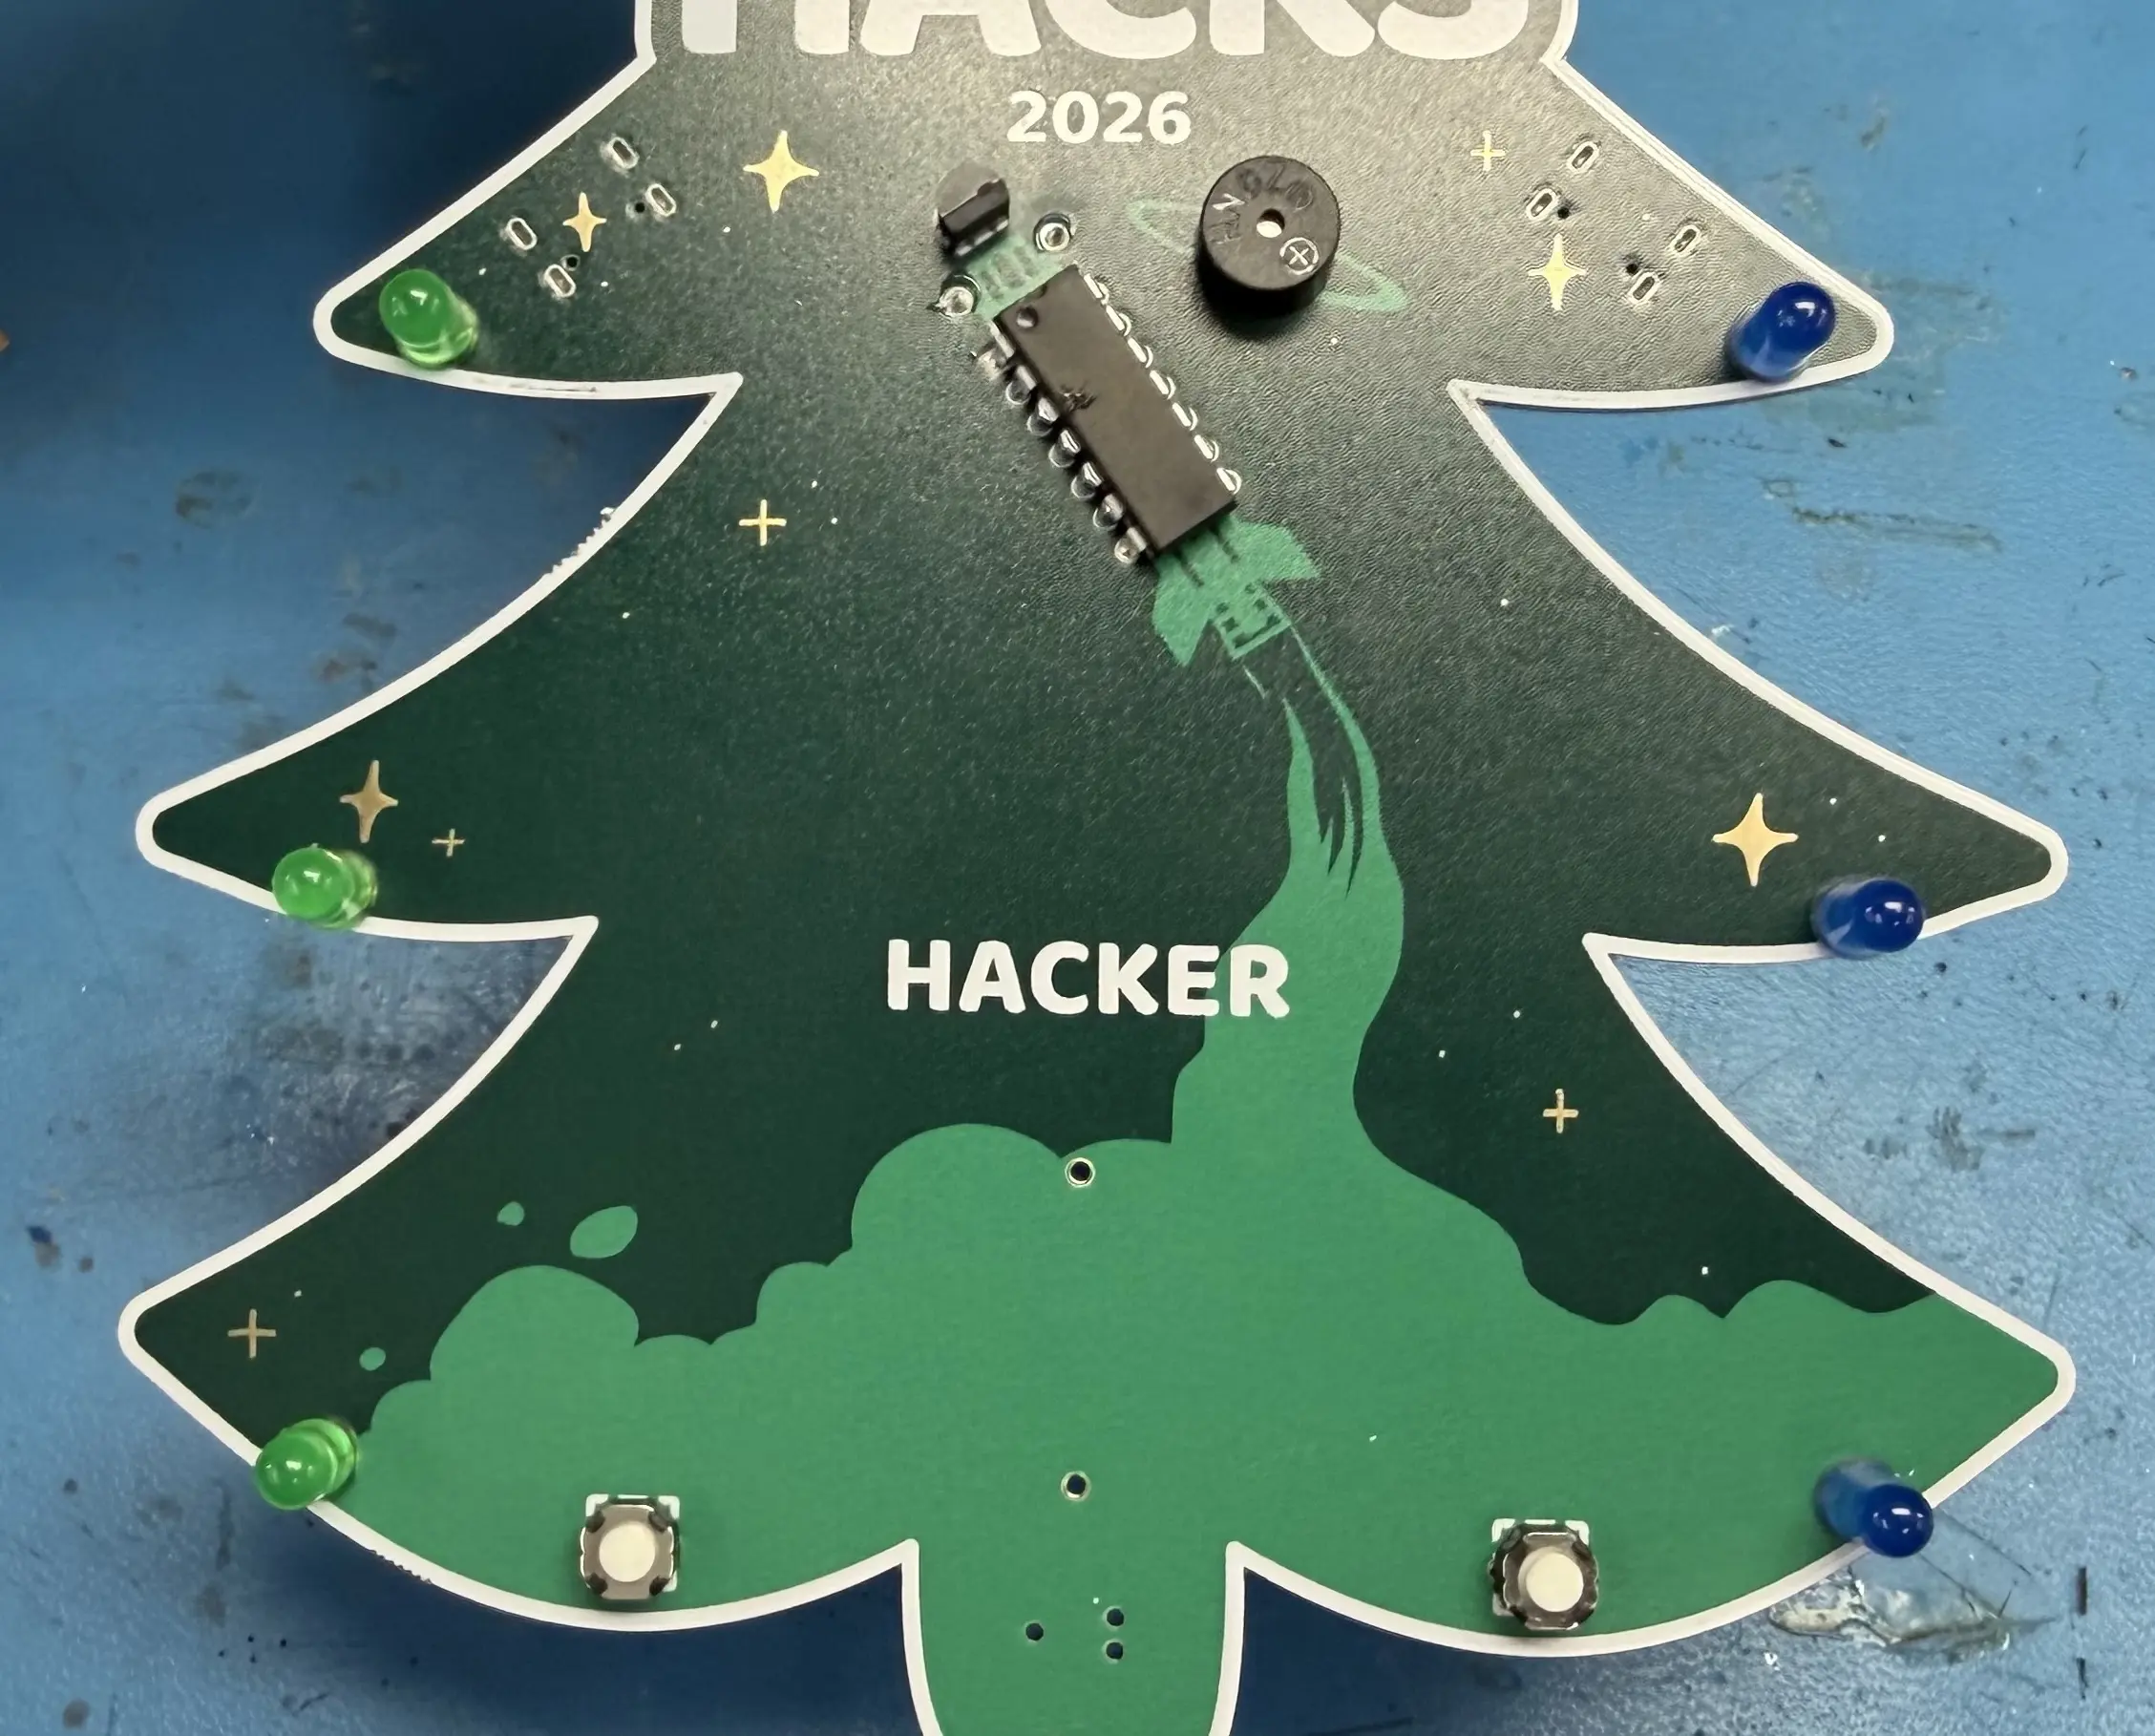
Now that you're here, take off your badge and disconnect your USB-C lanyard from it. Otherwise, this will get in the way. Your badge should look the photos below!

Begin by ensuring you have all the neccesary components, including:
- 1x Microcontroller
- 1x Transistor
- 3x Blue LEDs
- 3x Green LEDs
- 1x Photodiode
- 1x Resistor
- 1x Buzzer
- 1x Battery Holder
- 1x CR2032 Battery
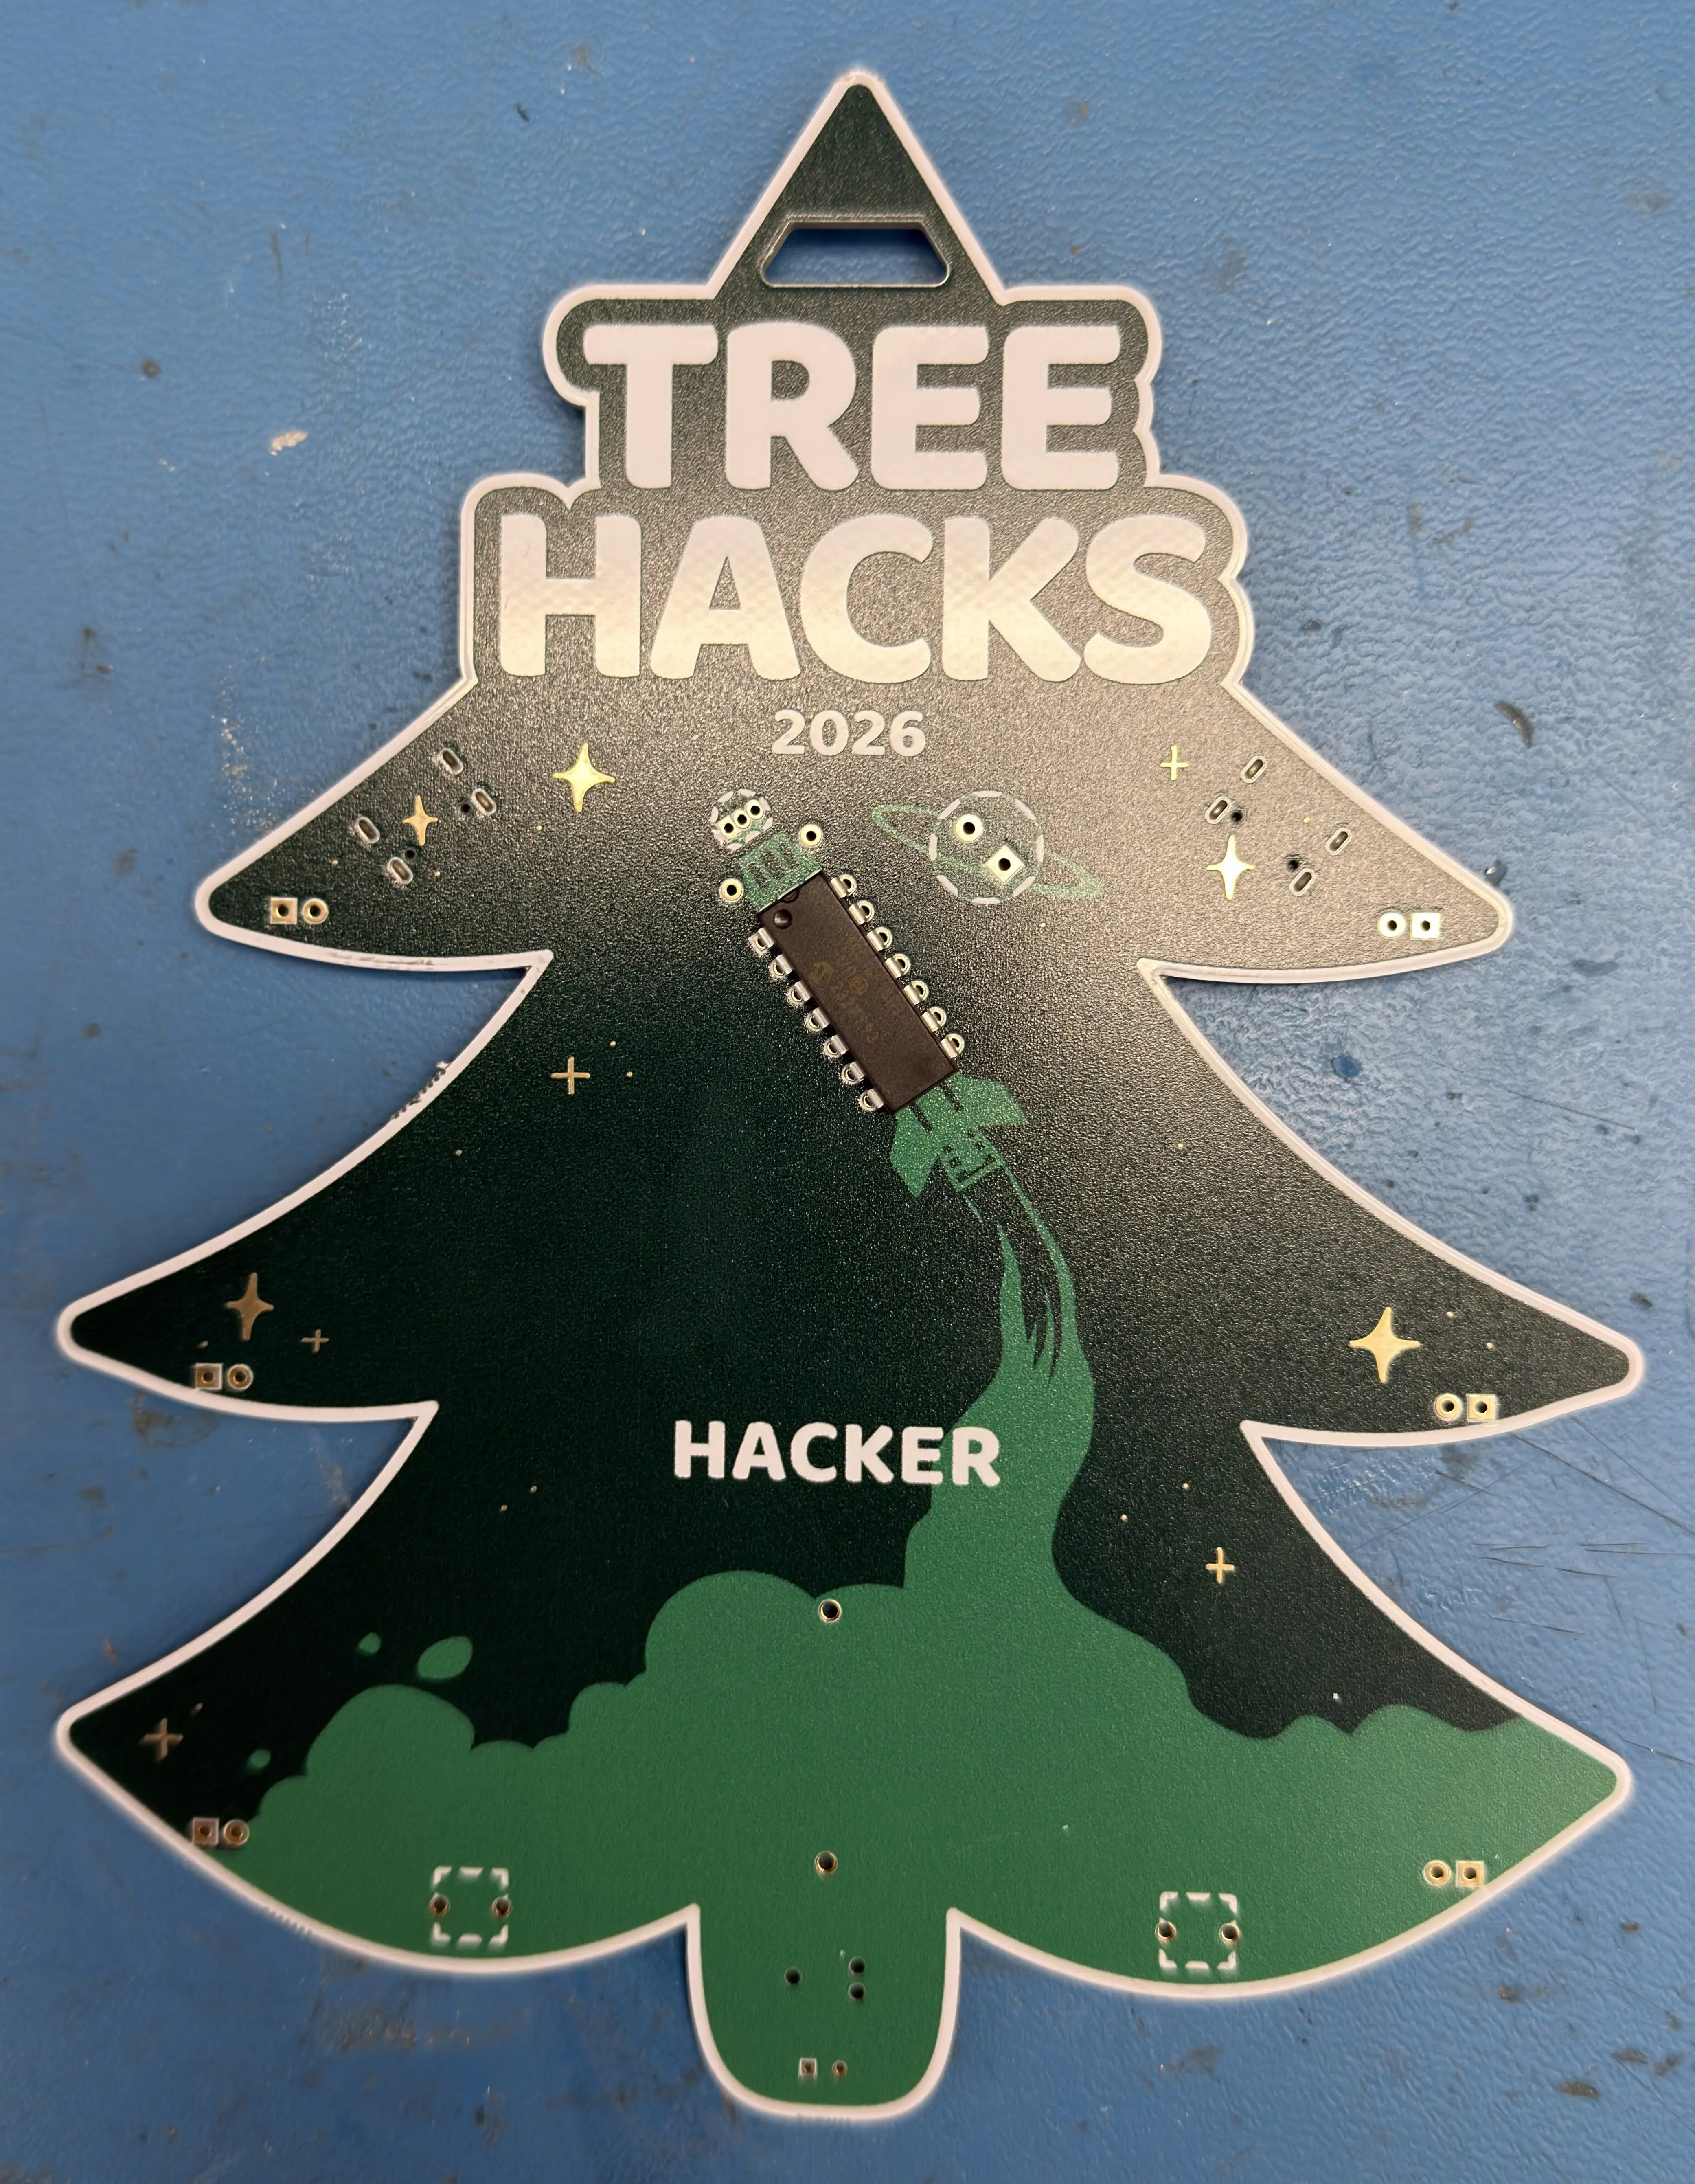
Once you've verified that you have all of the parts, grab the microcontroller. Pinch the pins inward slightly so they are about 90 degrees to the body of the microcontroller. Afterward, put it on the board with the dot on the top of the microcontroller aligned with the square hole on your badge.
Now, flip the board over and solder it on.
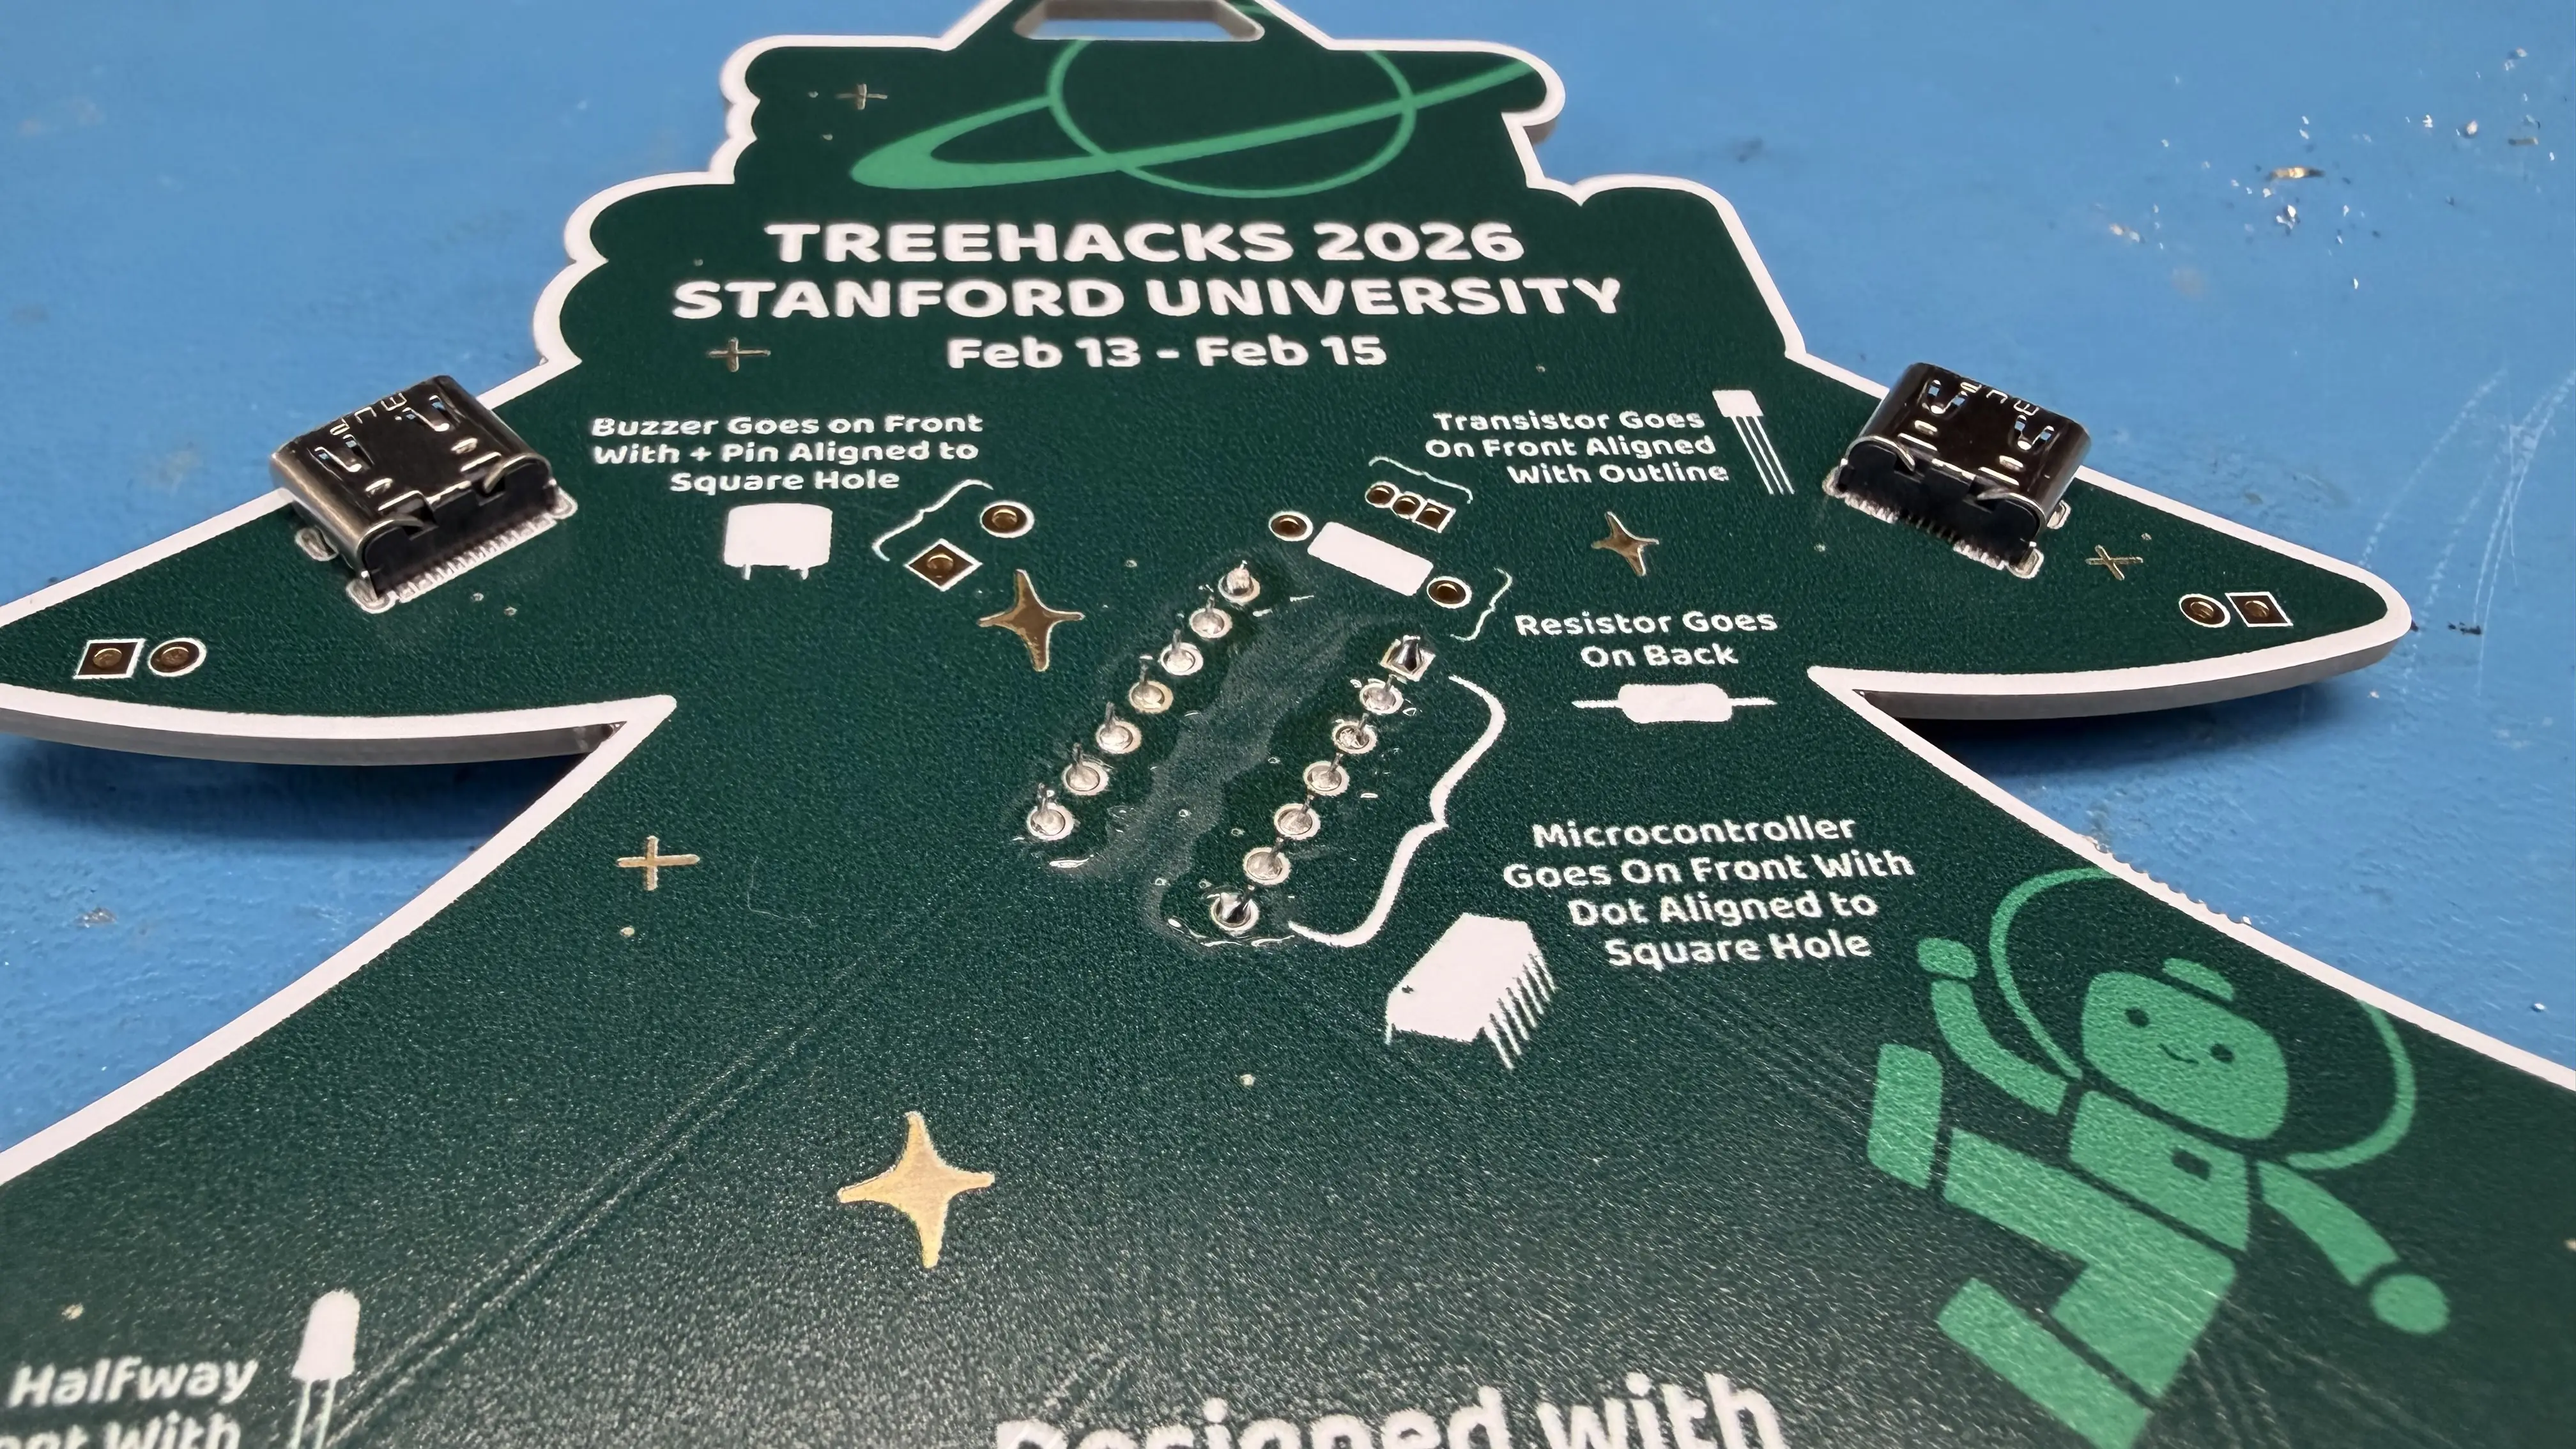
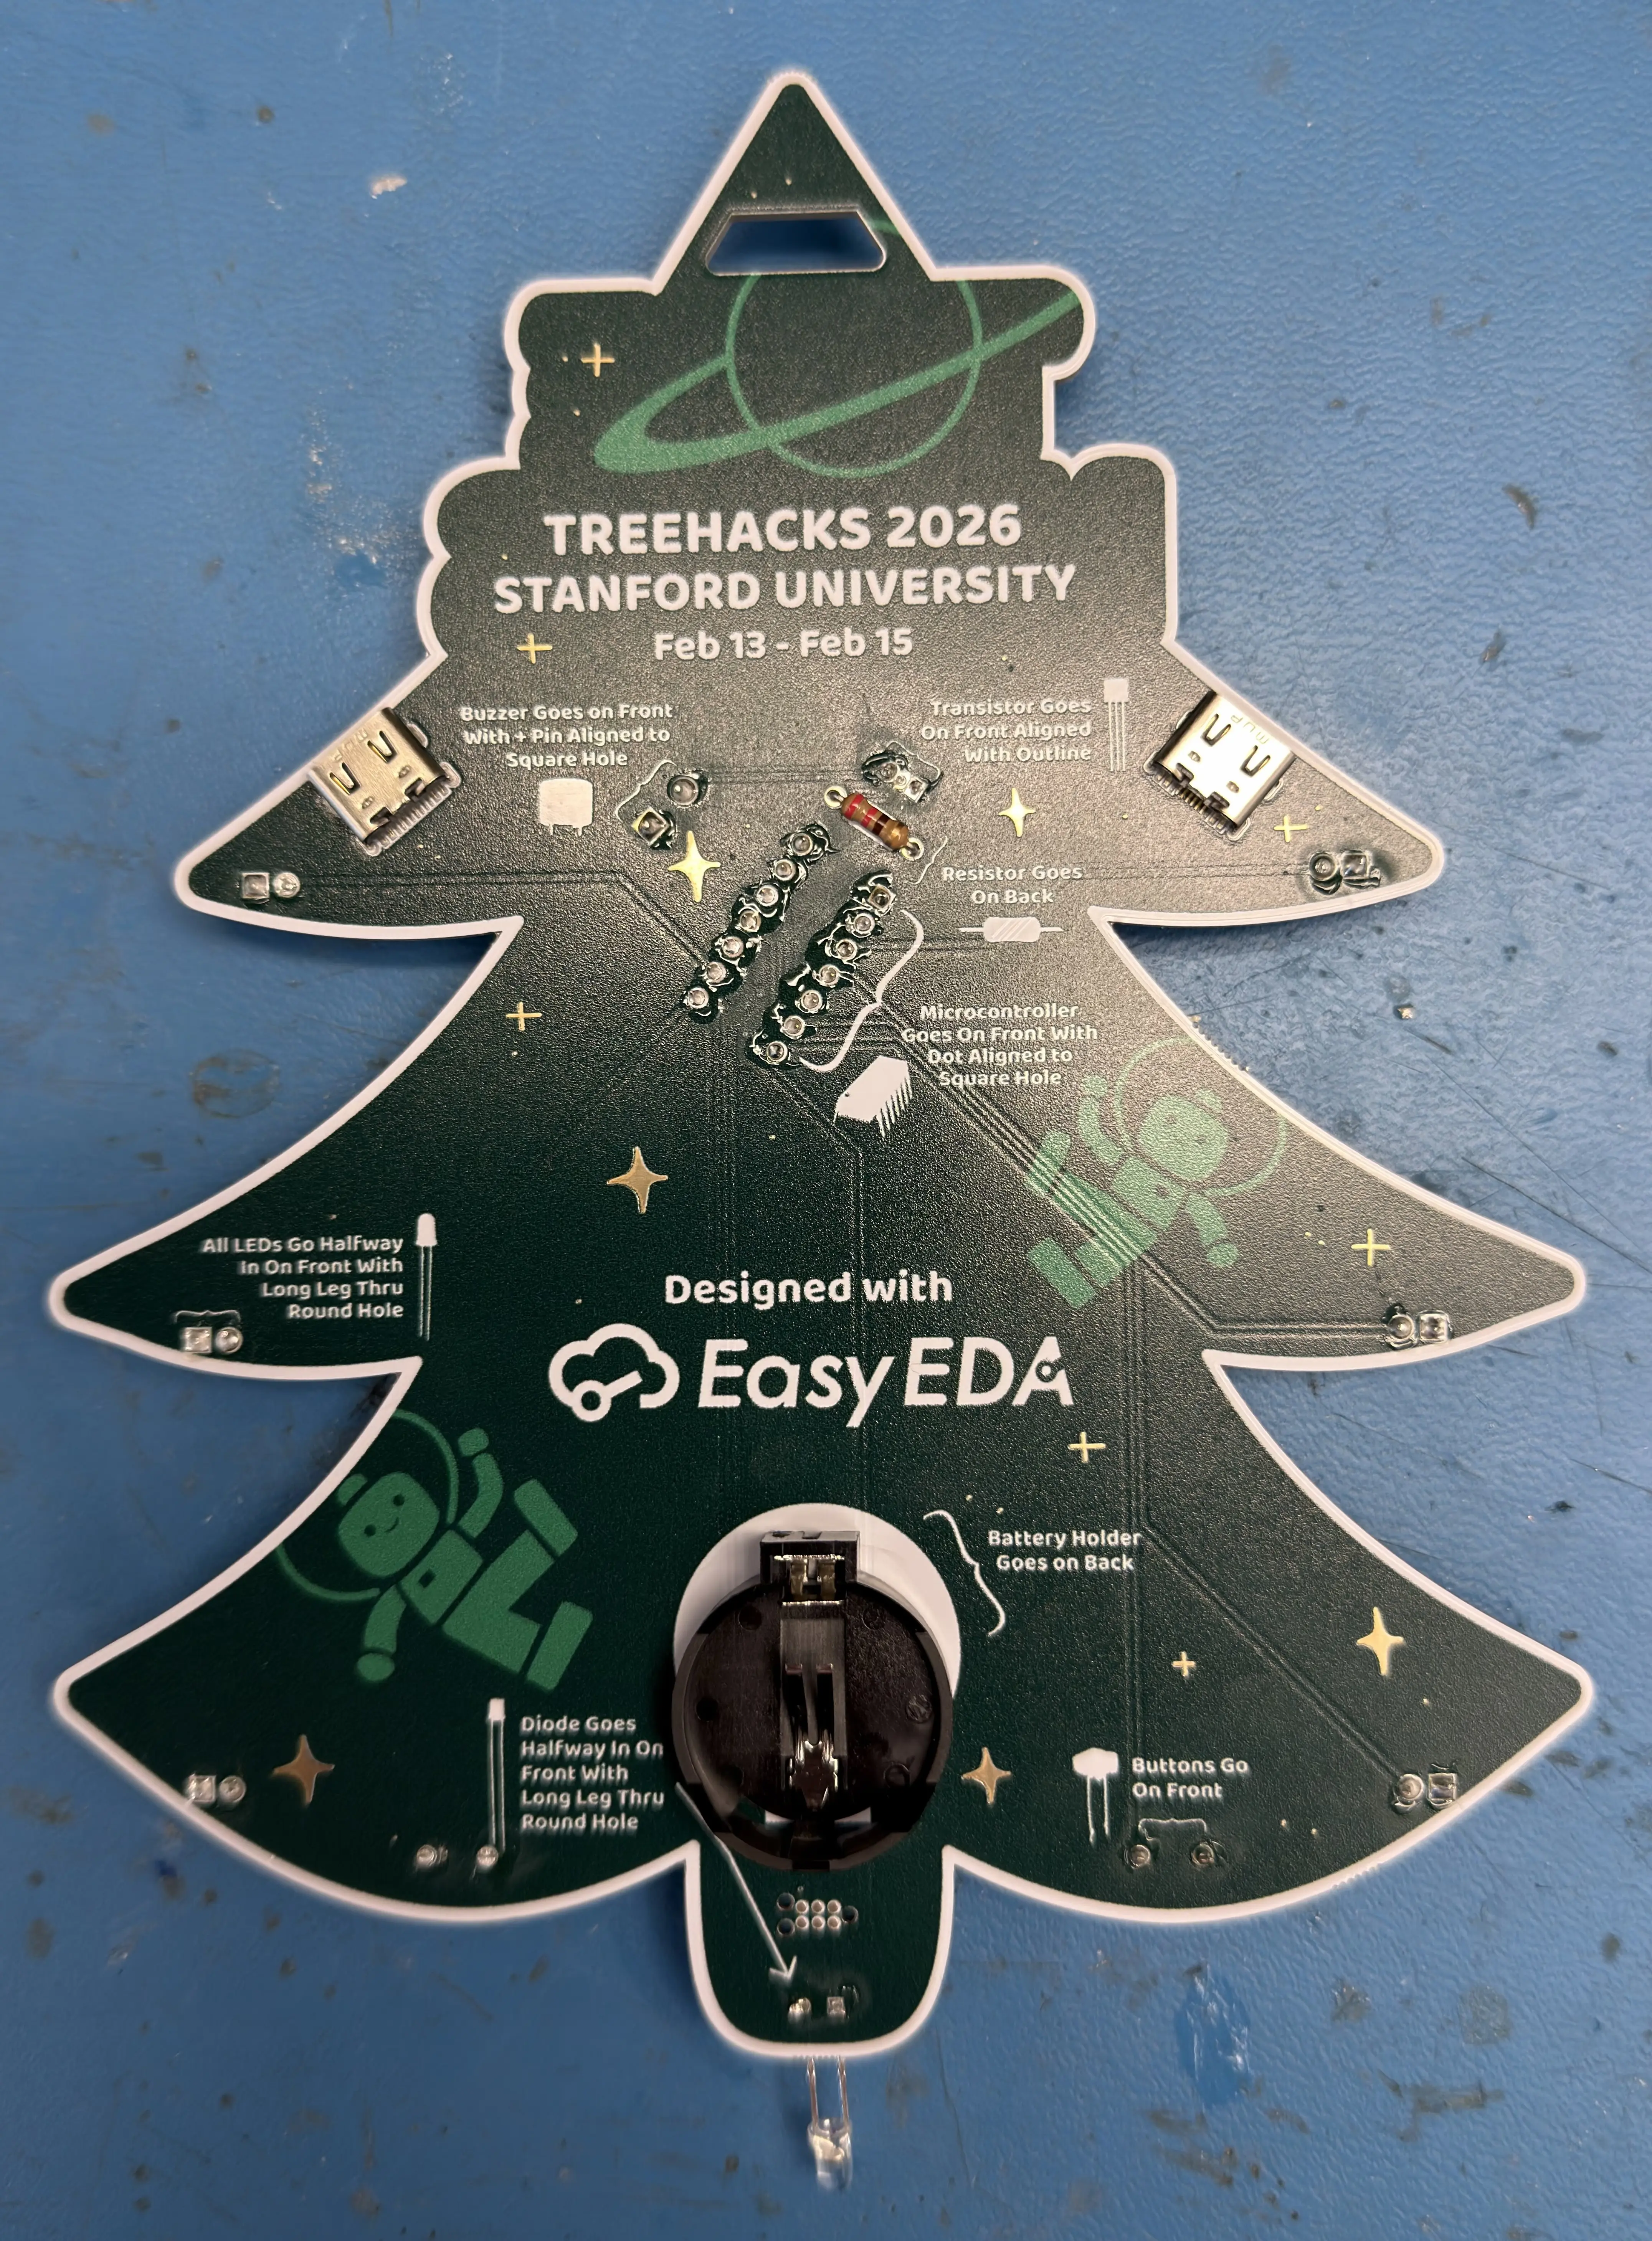
This is a good time to let you know that if you ever get lost, instructions are also on the back of the badge. Additionally, if you need help with soldering at any point in this process, ask an organizer at the hardware lab.
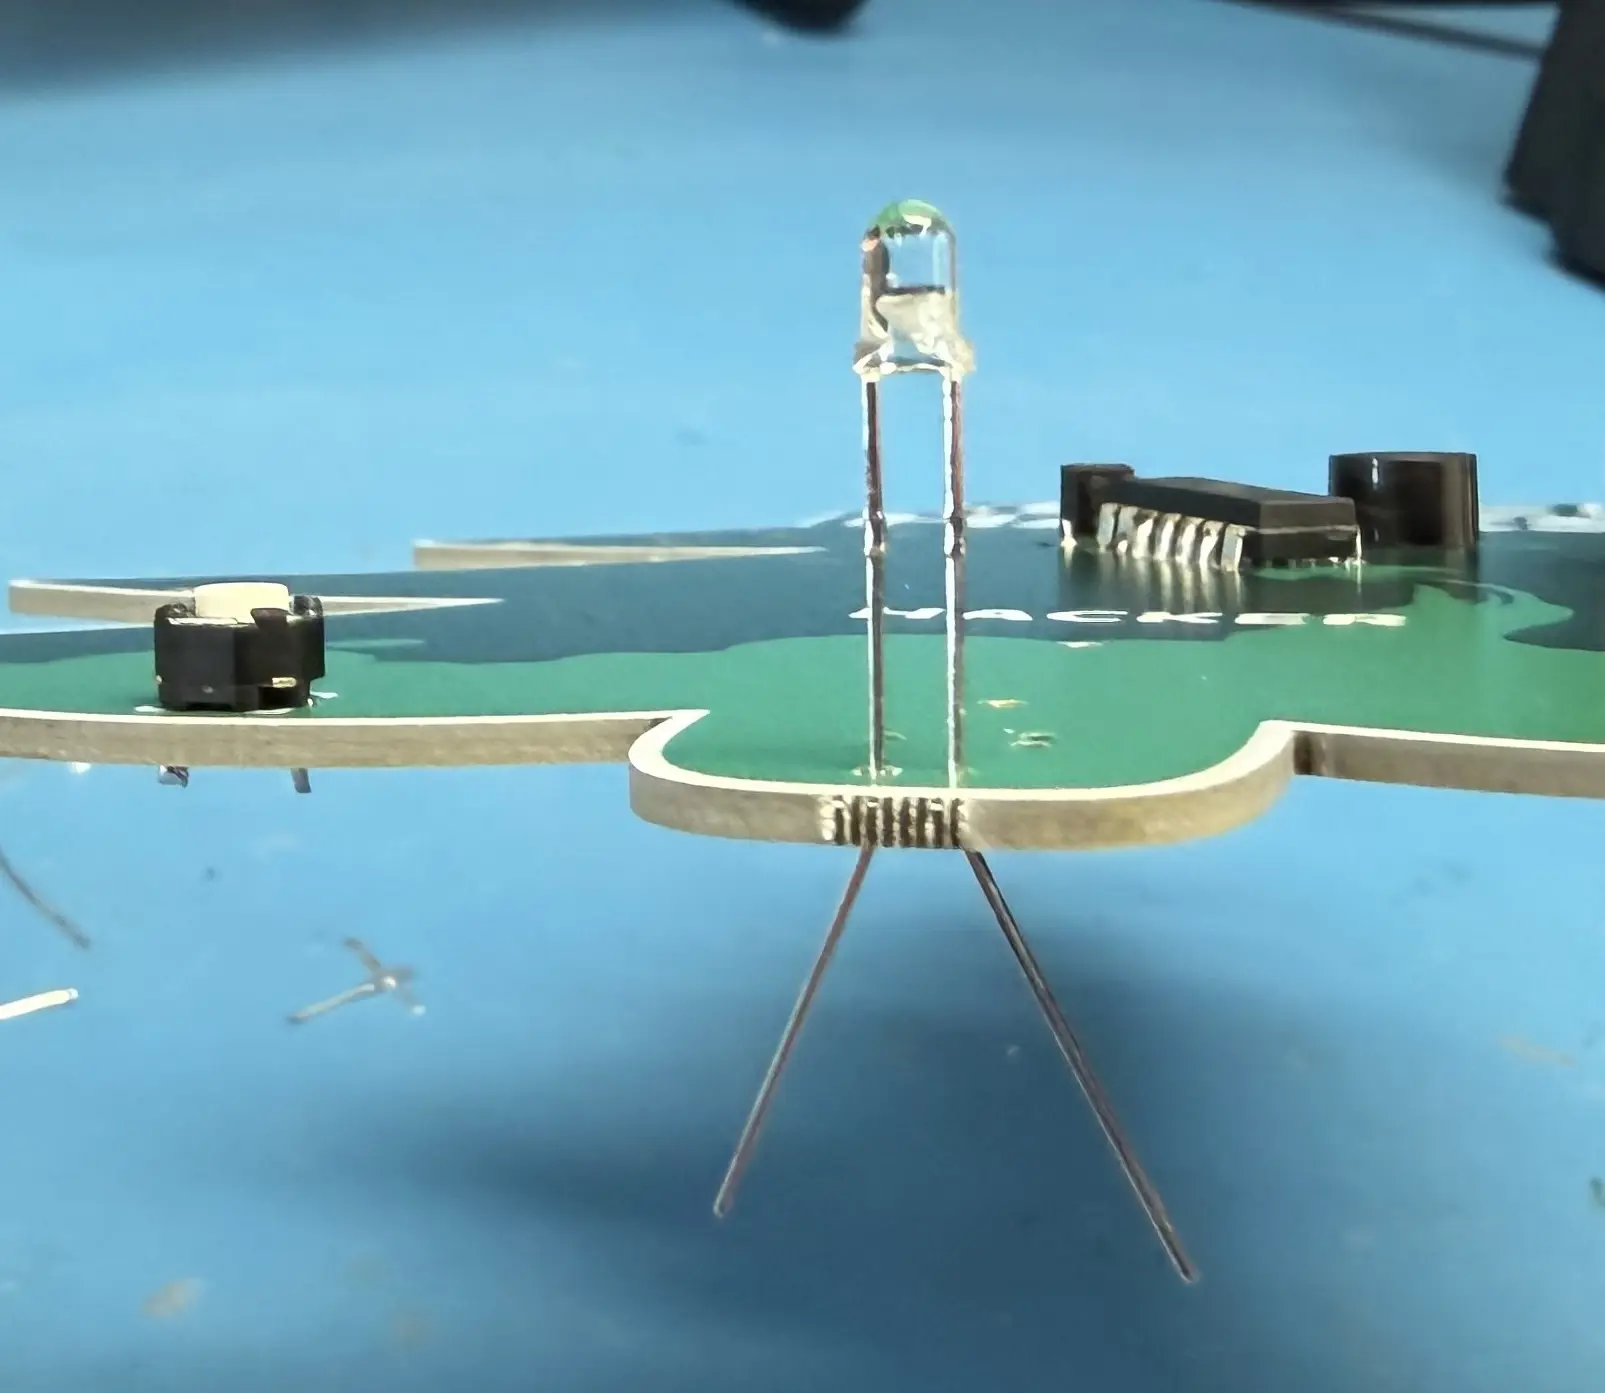
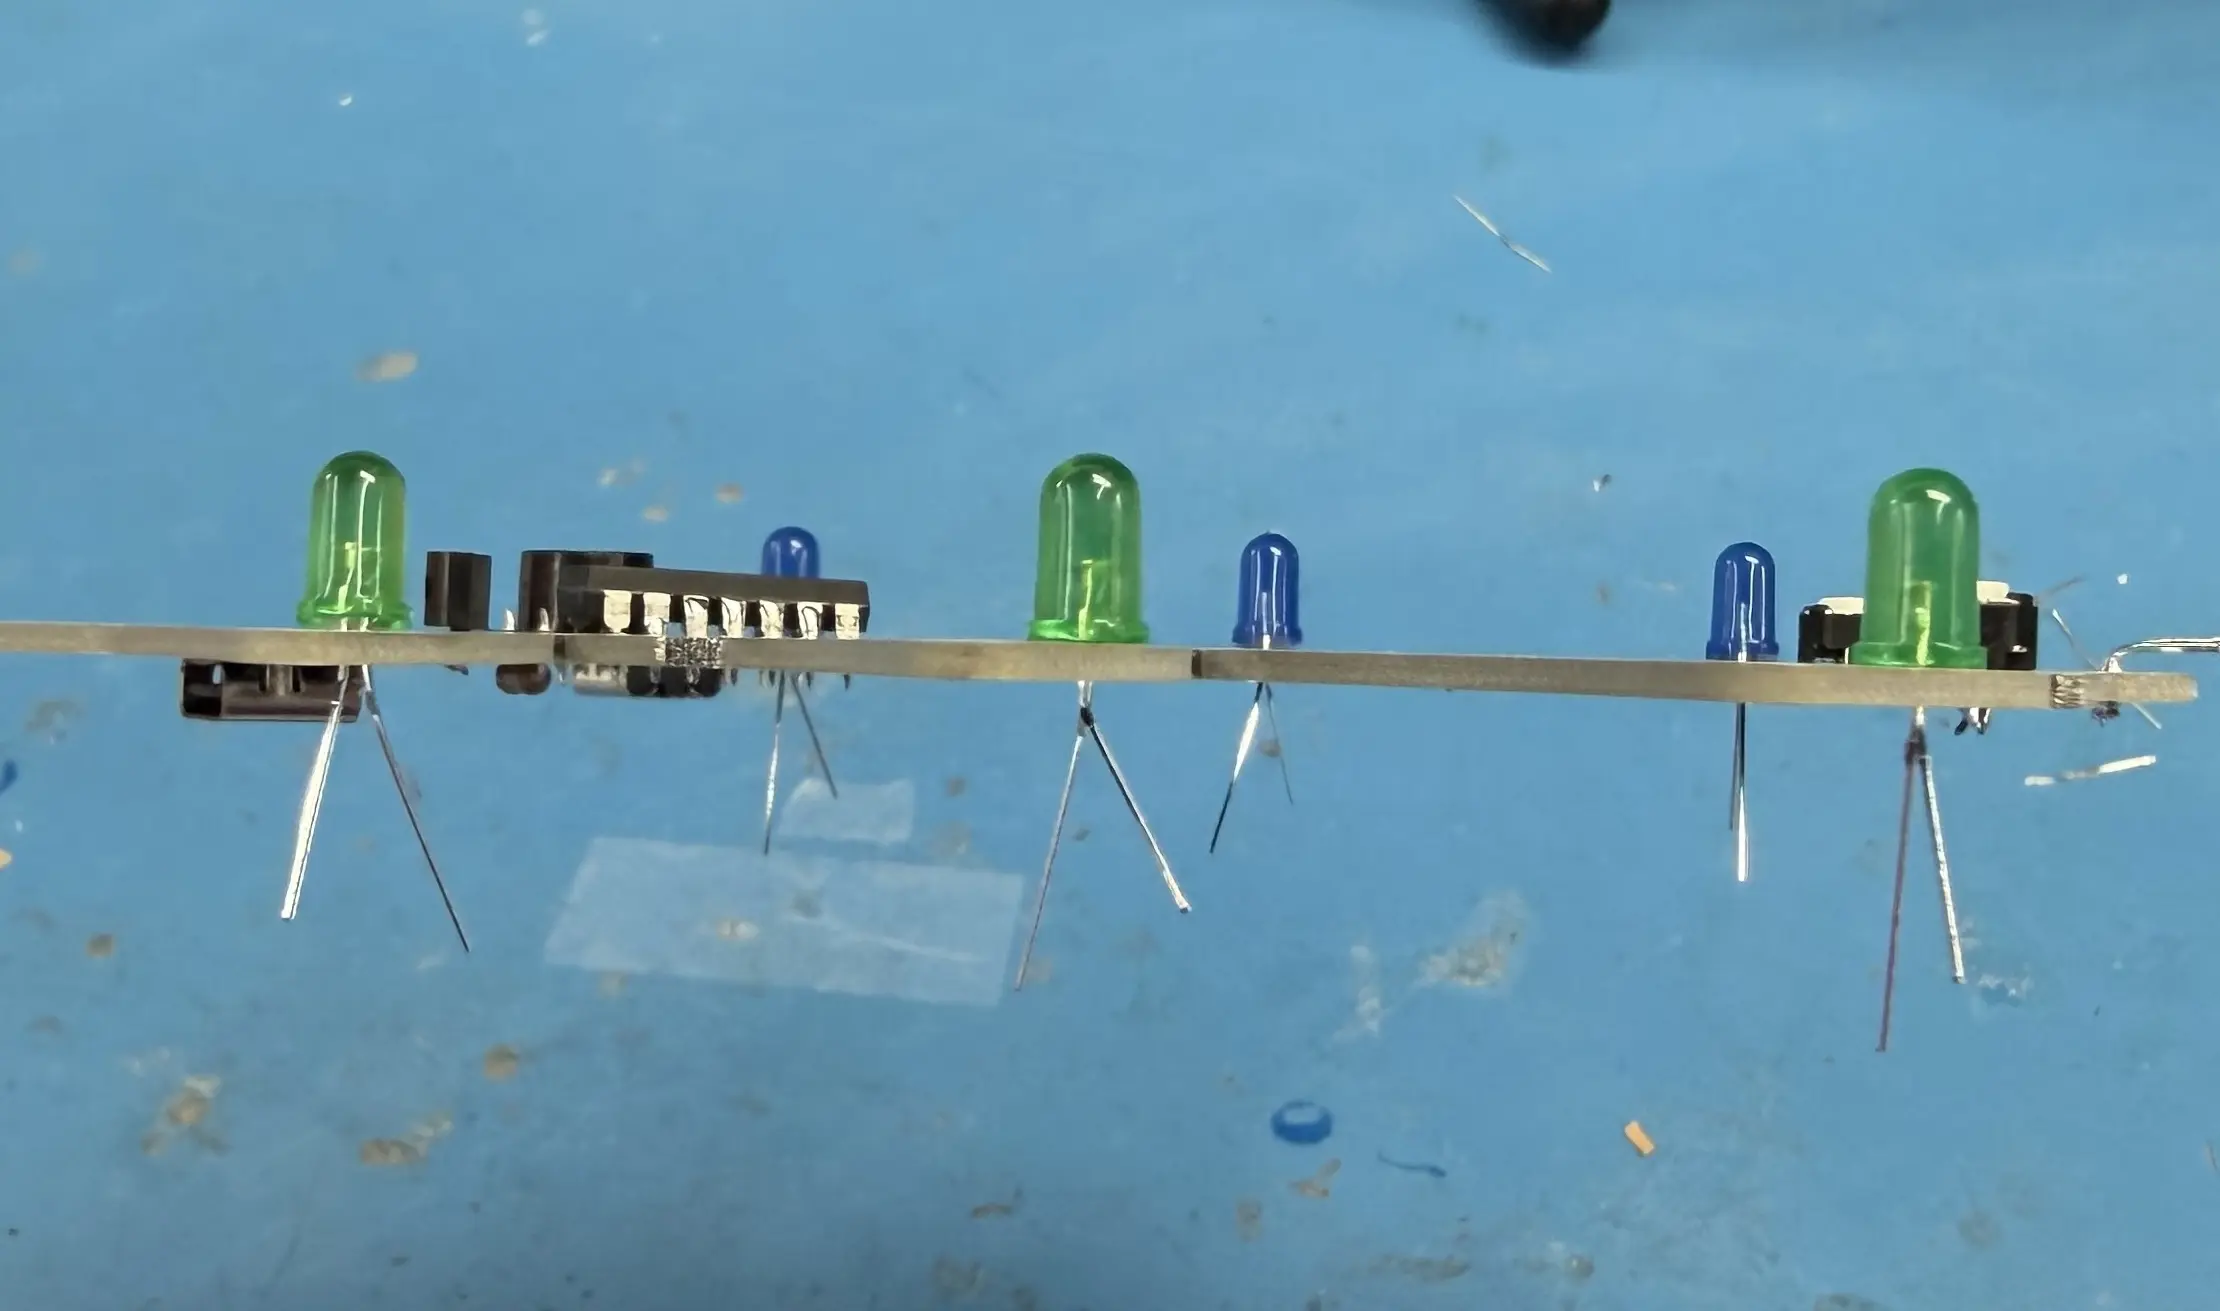
Continue soldering for the rest of the components. Locations of all components are indicated on the back. If you're having trouble keeping the components in place when you turn over the board, try spreading the leads of the component as demonstrated in the images below.
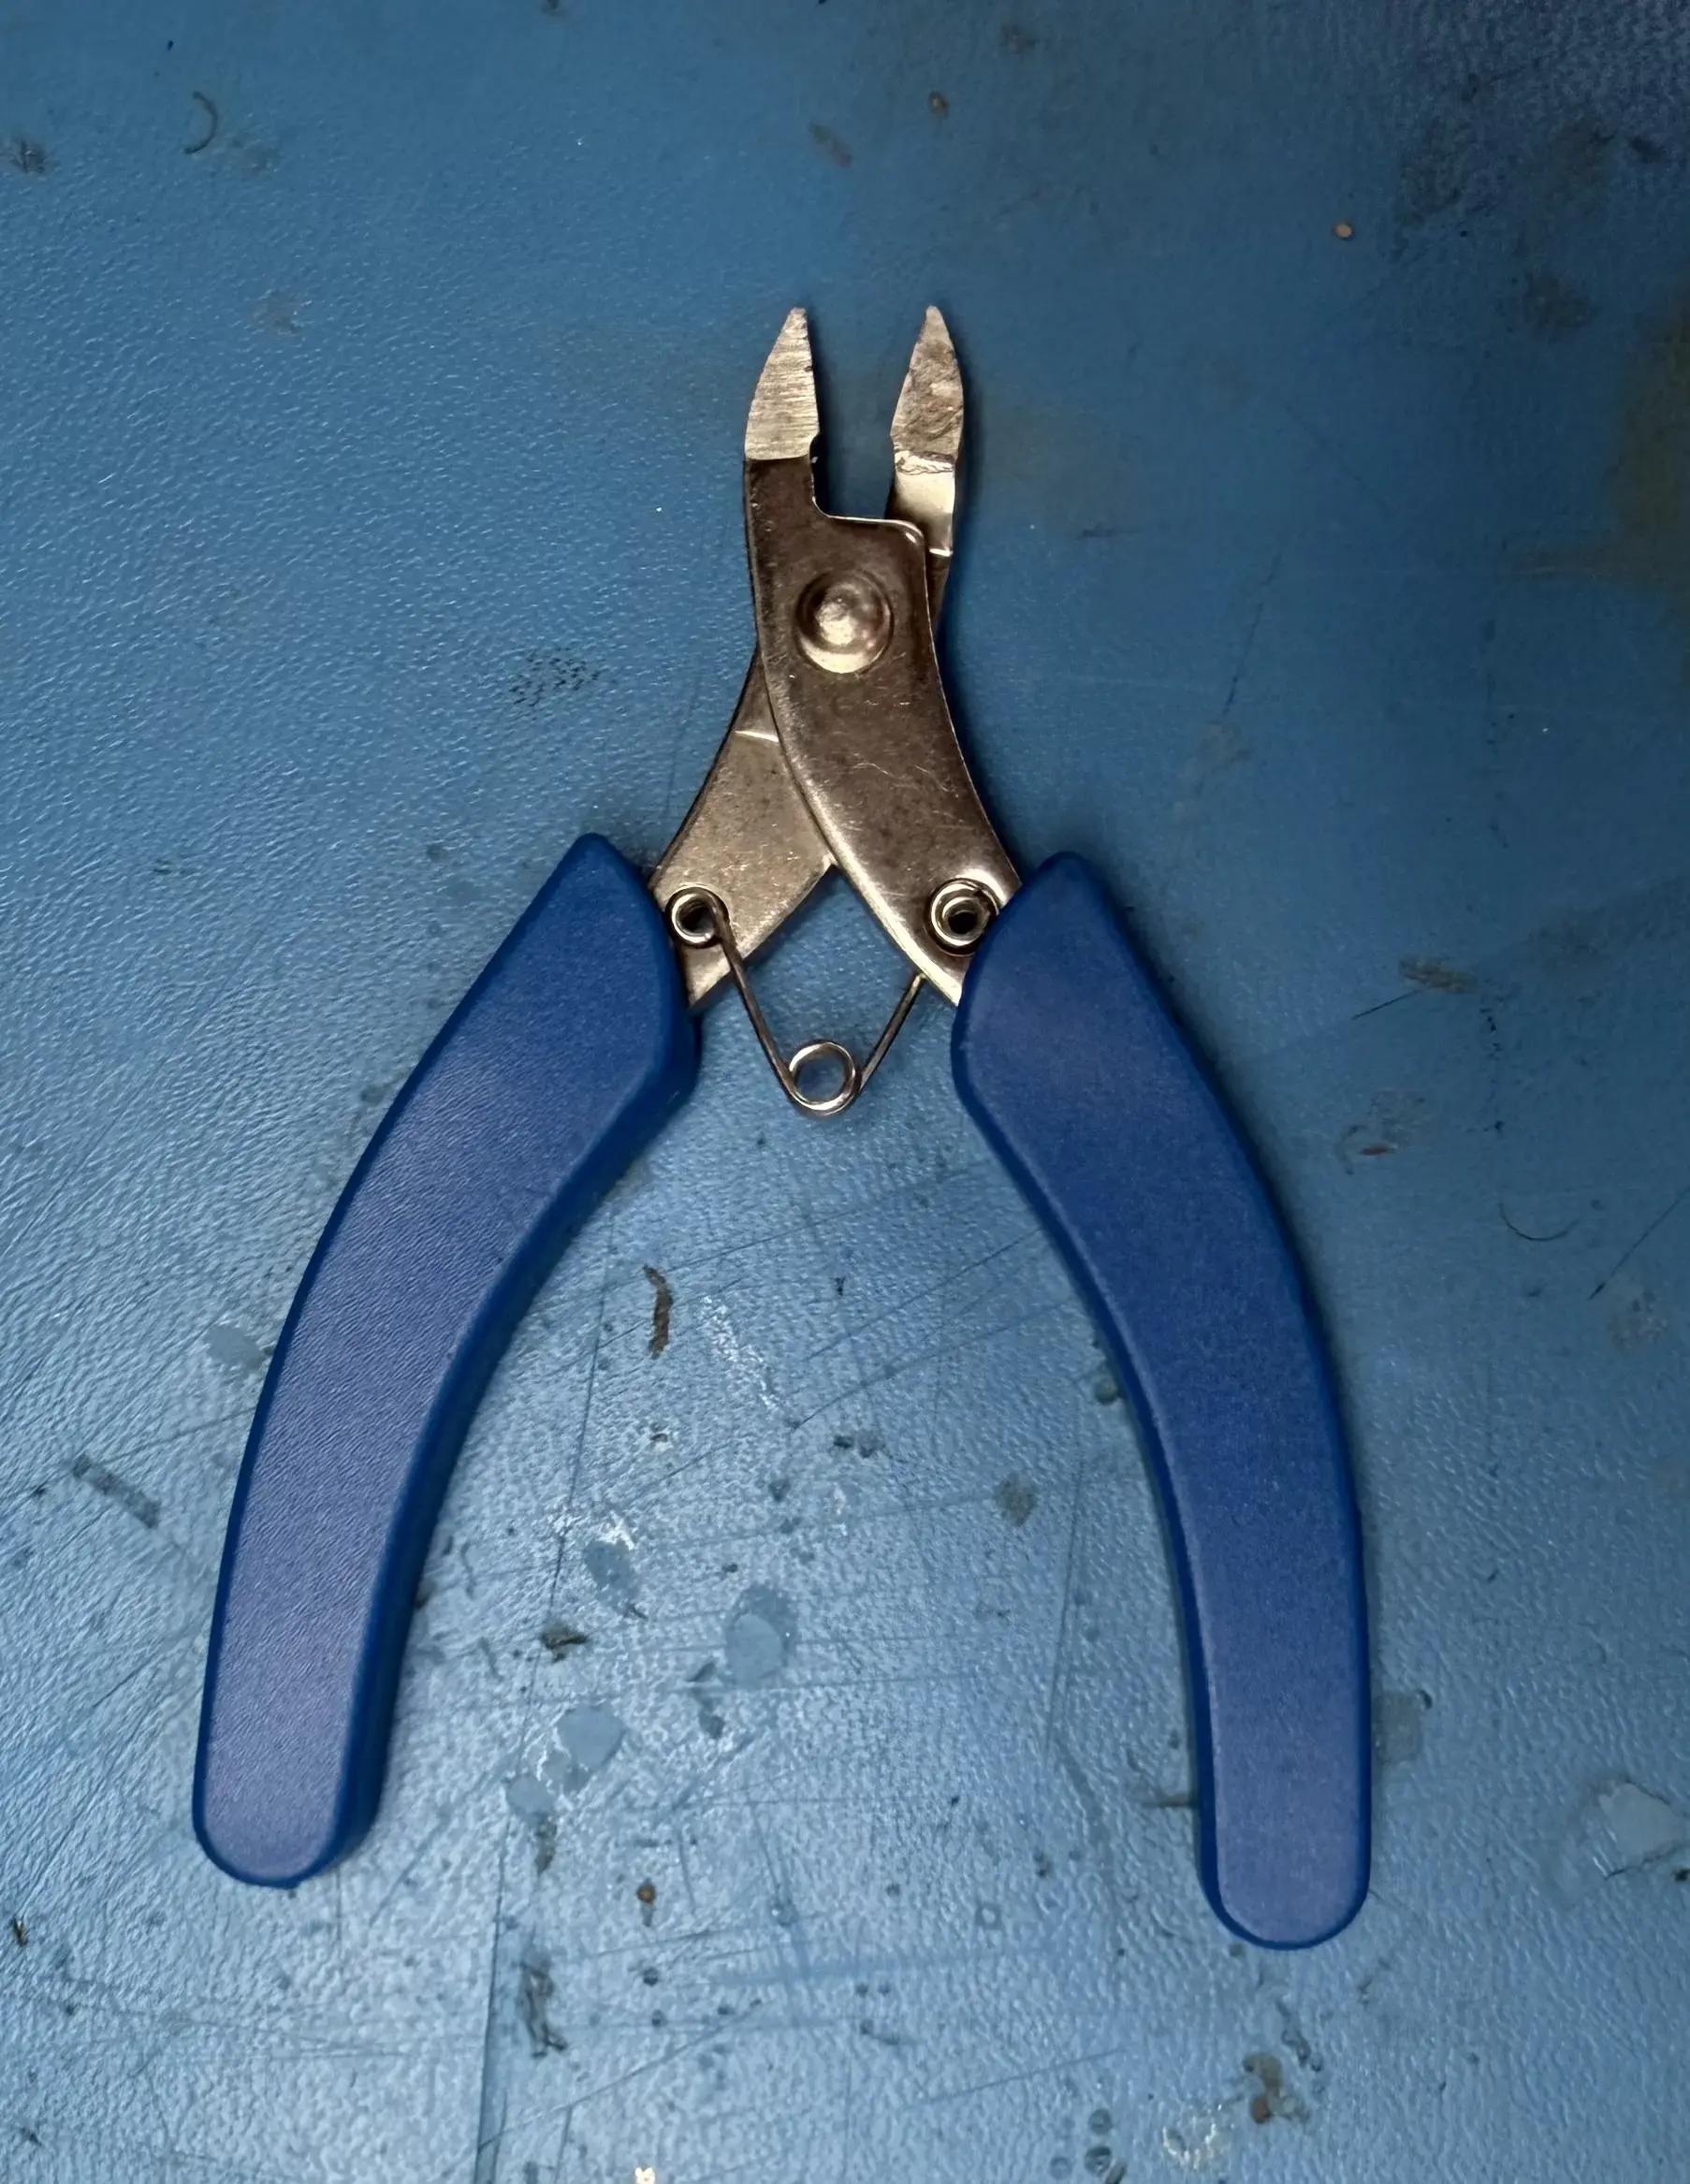
When you get to components that have leads sticking out, use snips (pictured below) to cut the leads off after you have soldered.
WARNING
Ensure that when you cut off the leads, you hold the lead you are cutting to ensure it does not go flying into to you or someone else's eyes!

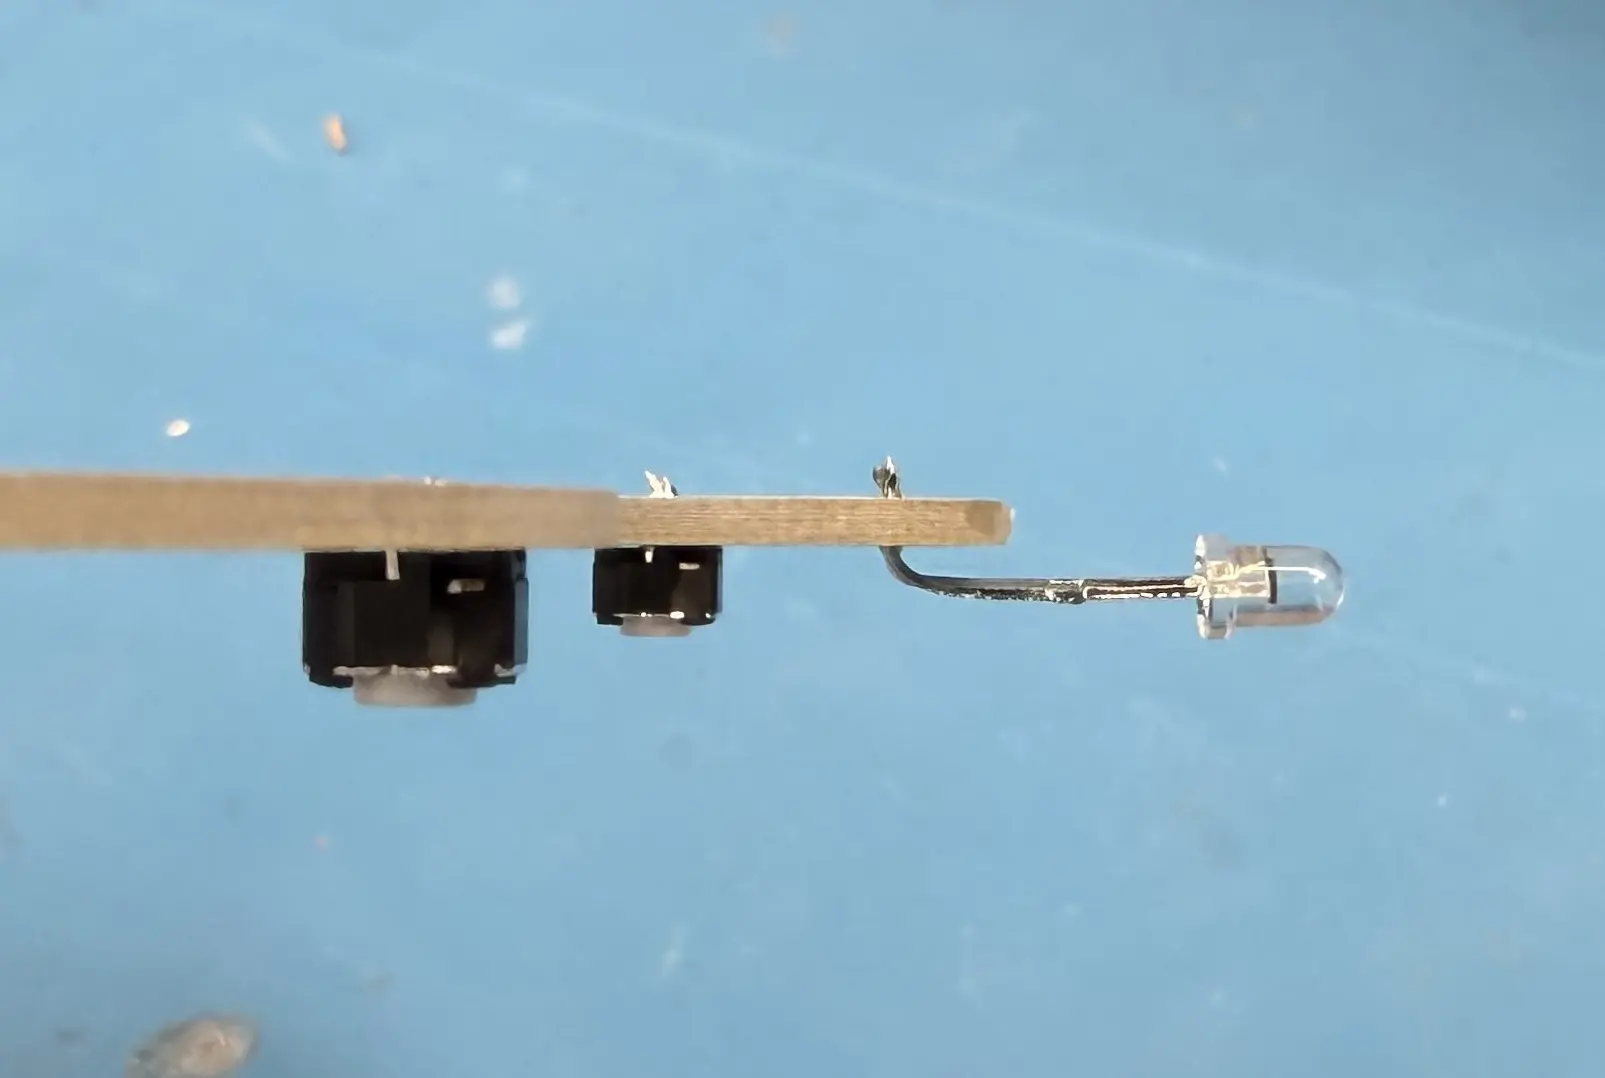
When you get to the diode, only put the diode in halfway, as imaged below. You should spread out the leads to ensure it does not fall through.
Once the diode is soldered and the leads are snipped, bend the diode 90° downwards.
Now you are at the LEDs! You can place your 3 green and 3 blue LEDs in any order you would like. You do not need to follow the exact order of the image below.
Once you solder and snip the LEDs, you are at the final stretch: putting on the battery holder.
WARNING
Due to a miscommunication with our fab, the battery holder outline on the back on the PCB is backwards. Please align the battery holder so the rectangular portion at the bottom is not covering the white rectangular portion on the board. In other words, rotate it 180° from what the outline shows.
You are finished! But continue reading. Put a battery in the holder and try holding down the buttons to activate your badge. You should see a default LED sequence and hear a default buzzer sequence. If you do not or something seems wrong, let an organizer at the hardware lab know and we can help you!
Otherwise, you can proceed to program your badge with a custom sequence using our badge programmer below. This programmer allows you to customize the LED and buzzer sequence.
TreeHacks Flashing Tool
Place Diode on Badge Bottom Against Here and Press "Program"